Electric Vehicle Charging Point
Installation Survey
We’ve installed thousands of EV charging points across the UK. From straightforward home installations to large commercial sites with 40+ chargers.
Every home installation we complete is based on photos. This allows us to provide a fully costed installation plan upfront, maintain our 100% installation success rate, and ensure the price doesn’t change on the day.
Gathering everything upfront makes the installation straightforward. Our engineers arrive with a clear plan and know exactly what to expect.
For simpler installations, we can often get everything we need from just one or two photos. For more complex setups, a few additional angles help us build a complete picture.
Follow This for the Best Results
Stand Back
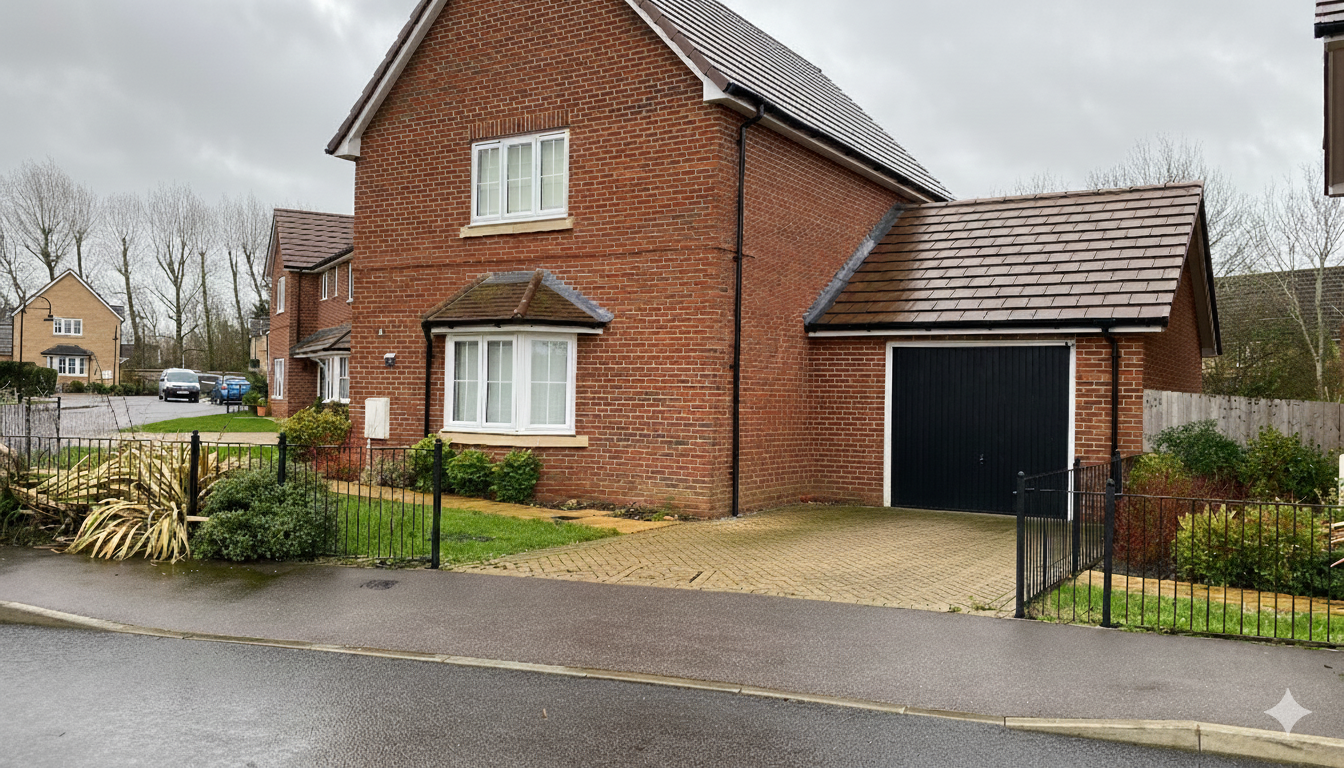
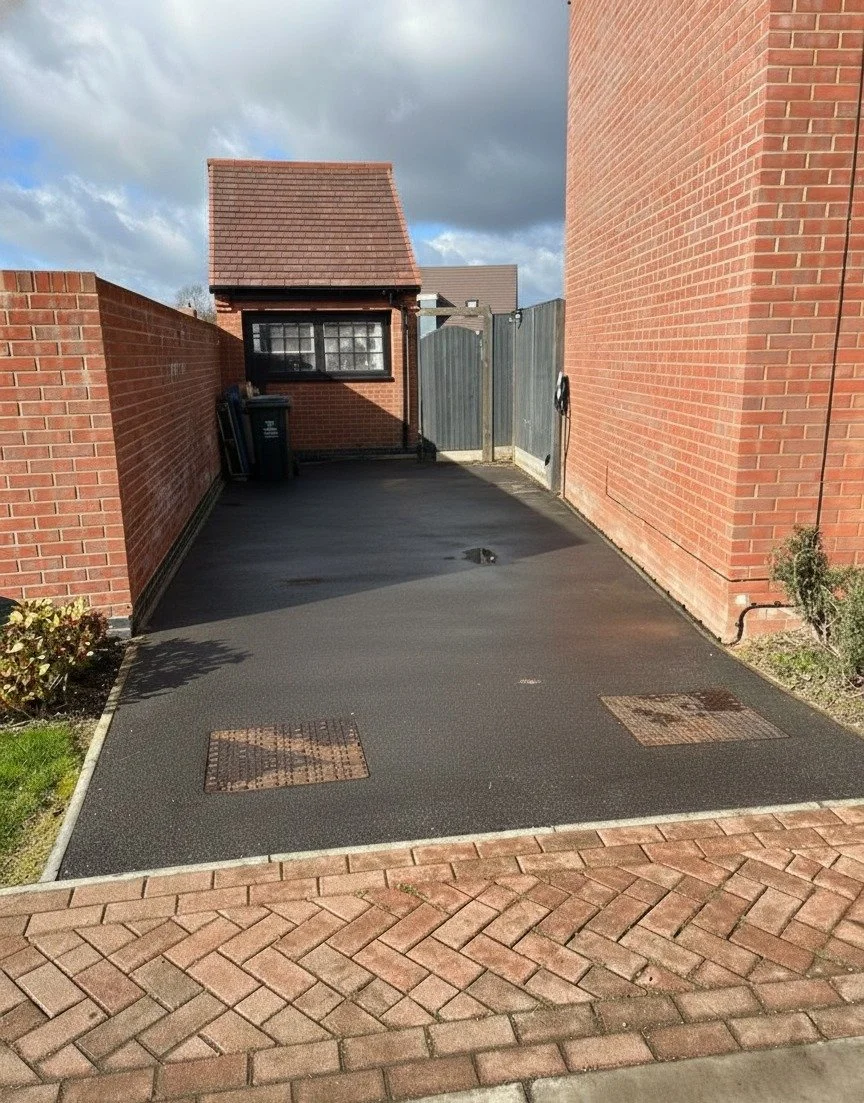
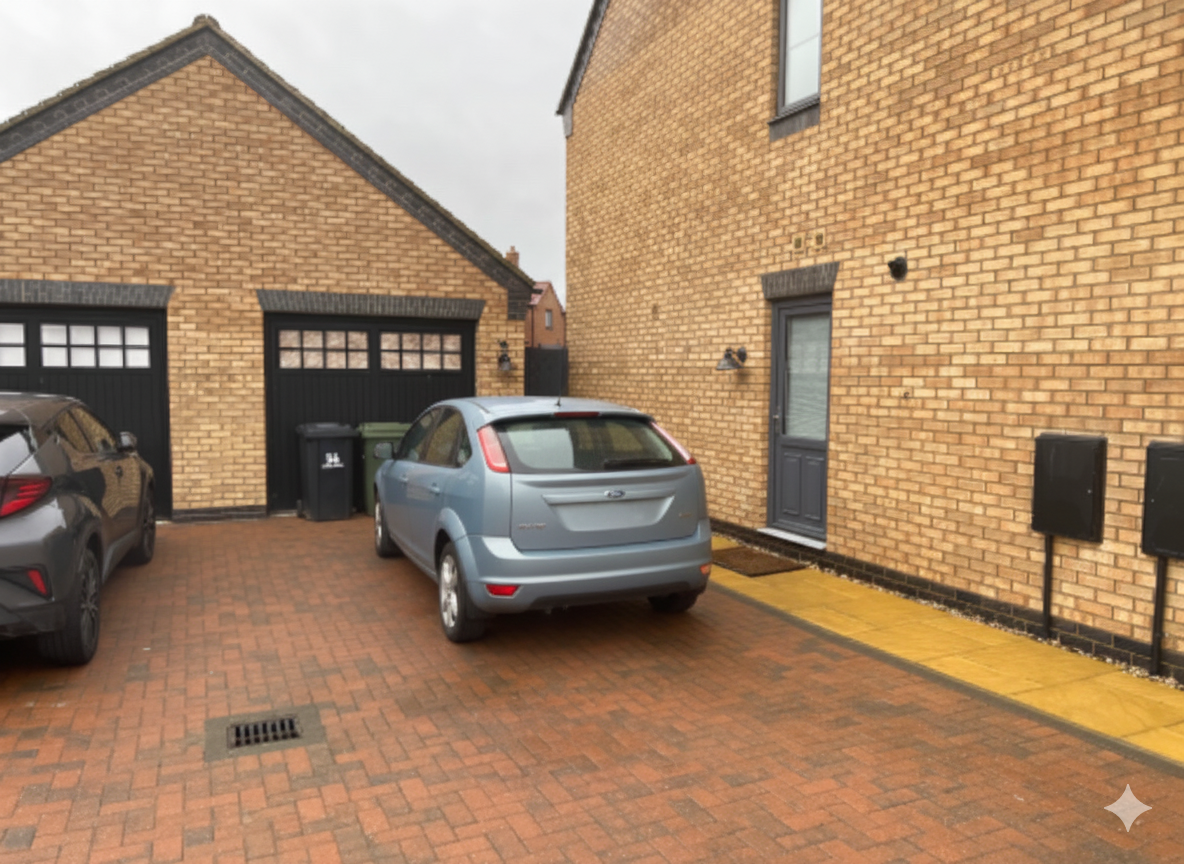
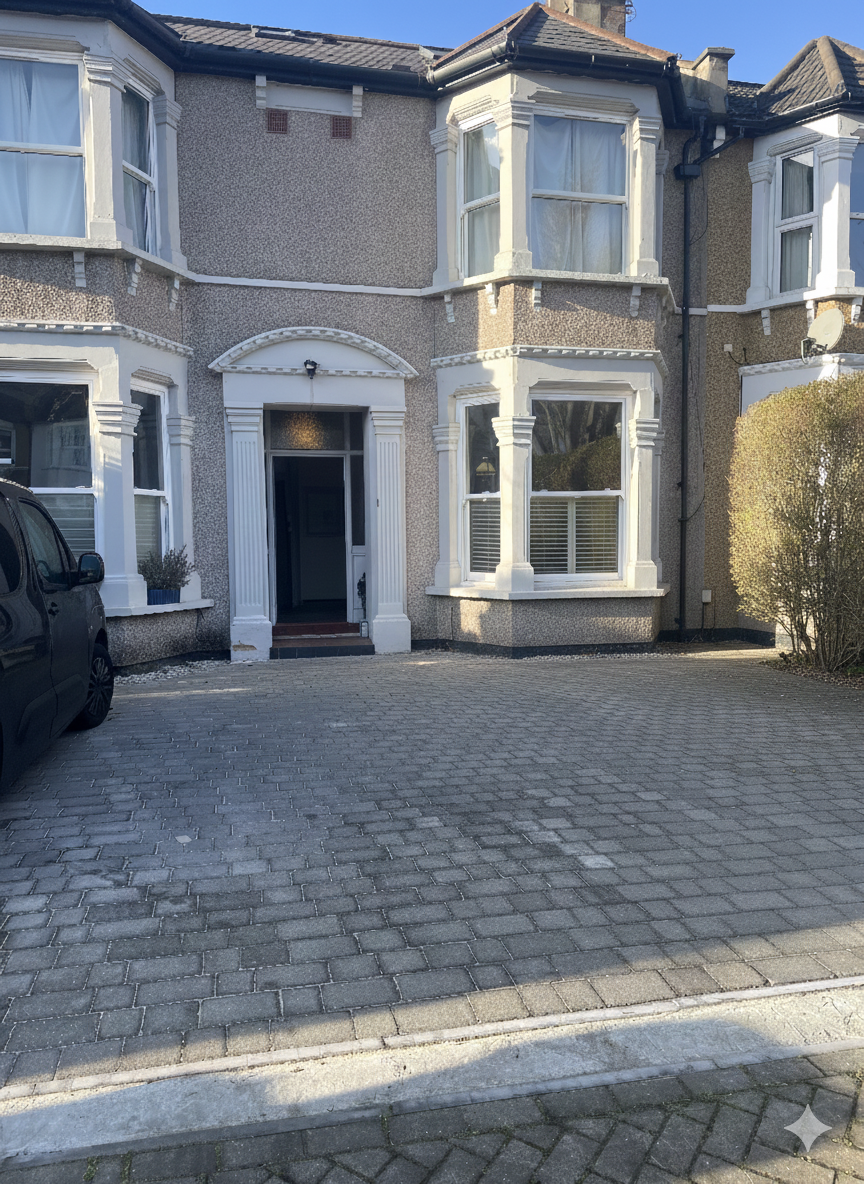
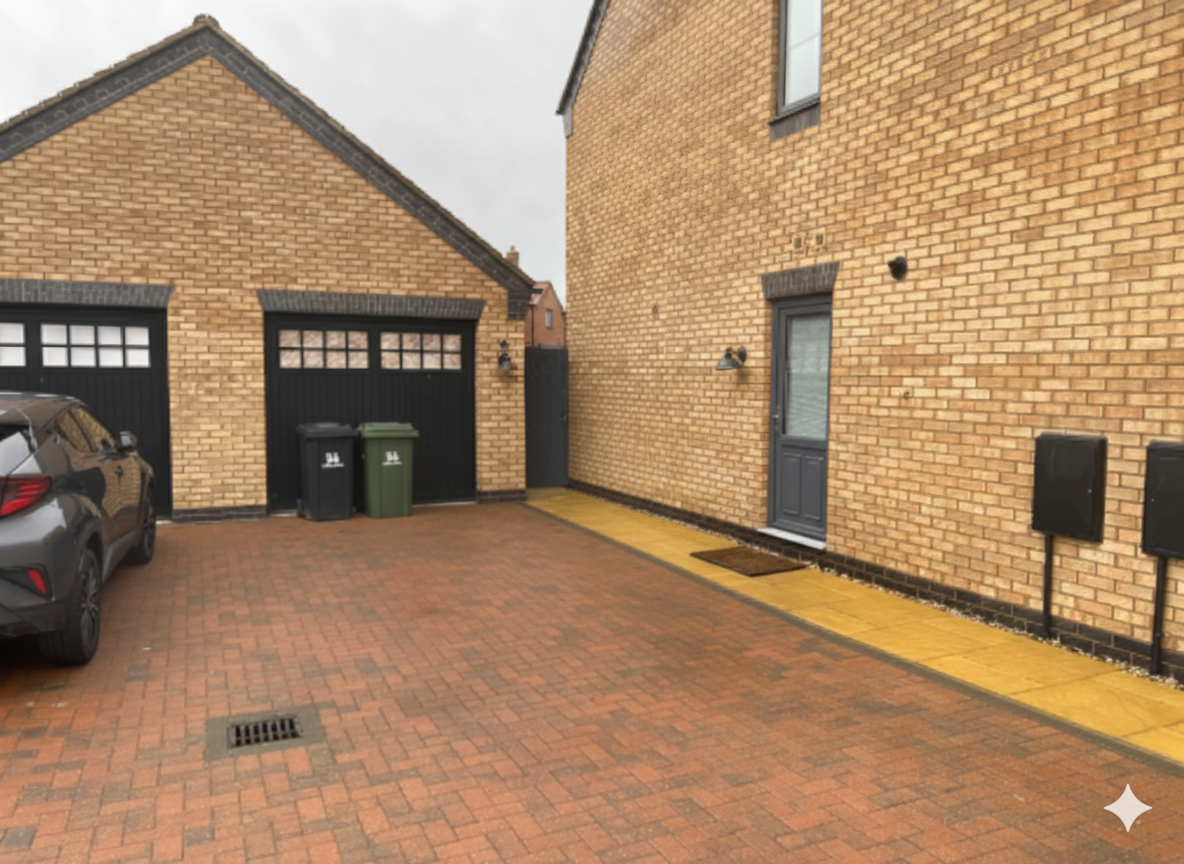
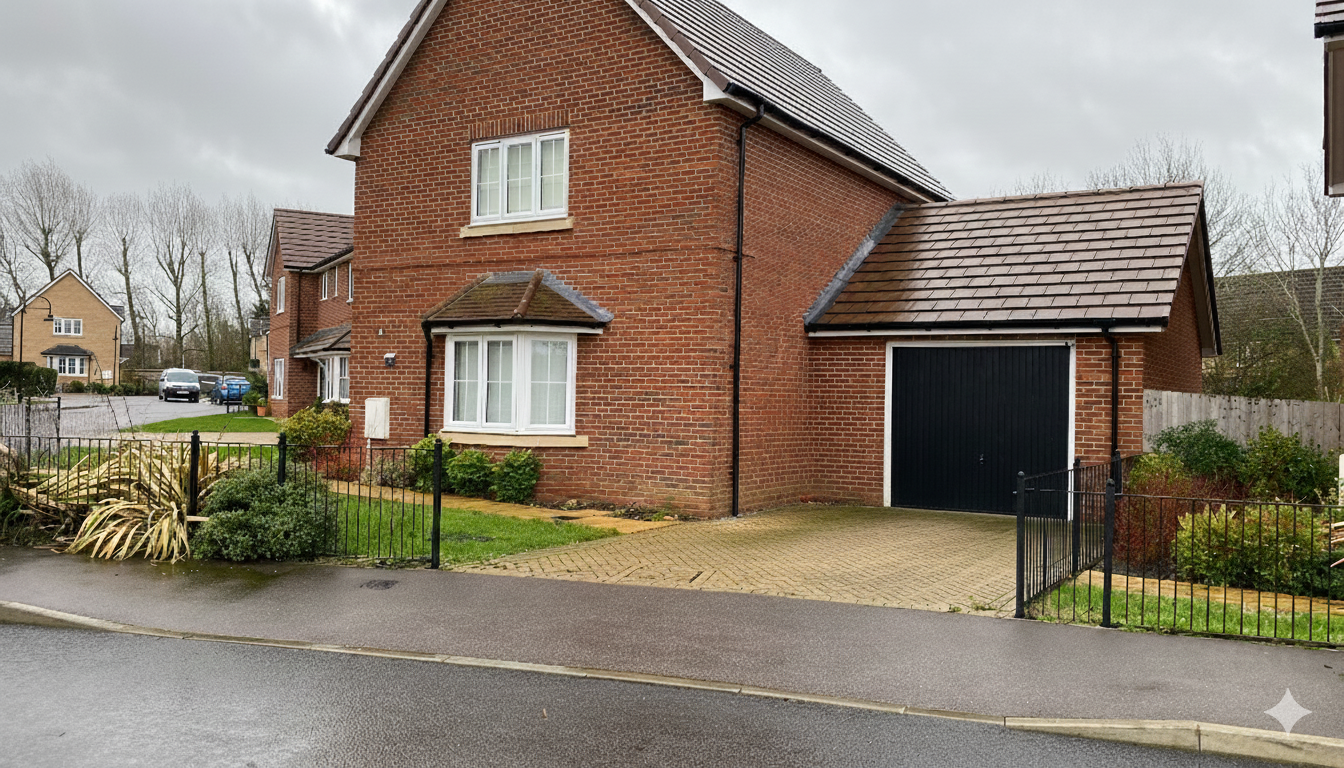
Wide shots are more useful than close-ups. Aim for around 5 metres back where possible
Make it bright
Take photos in good lighting
Pre-installed Cable?
If you have a cable pre-installed for the charger, provide the electrical certificate or confirm the cable type
Send more, not less.
If in doubt, send more. We’ll filter what we need
Context
Show context. We need to see how areas link together
Internal Photos
Internal photos should be floor to ceiling where possible
Consumer Unit (Fuse Board)
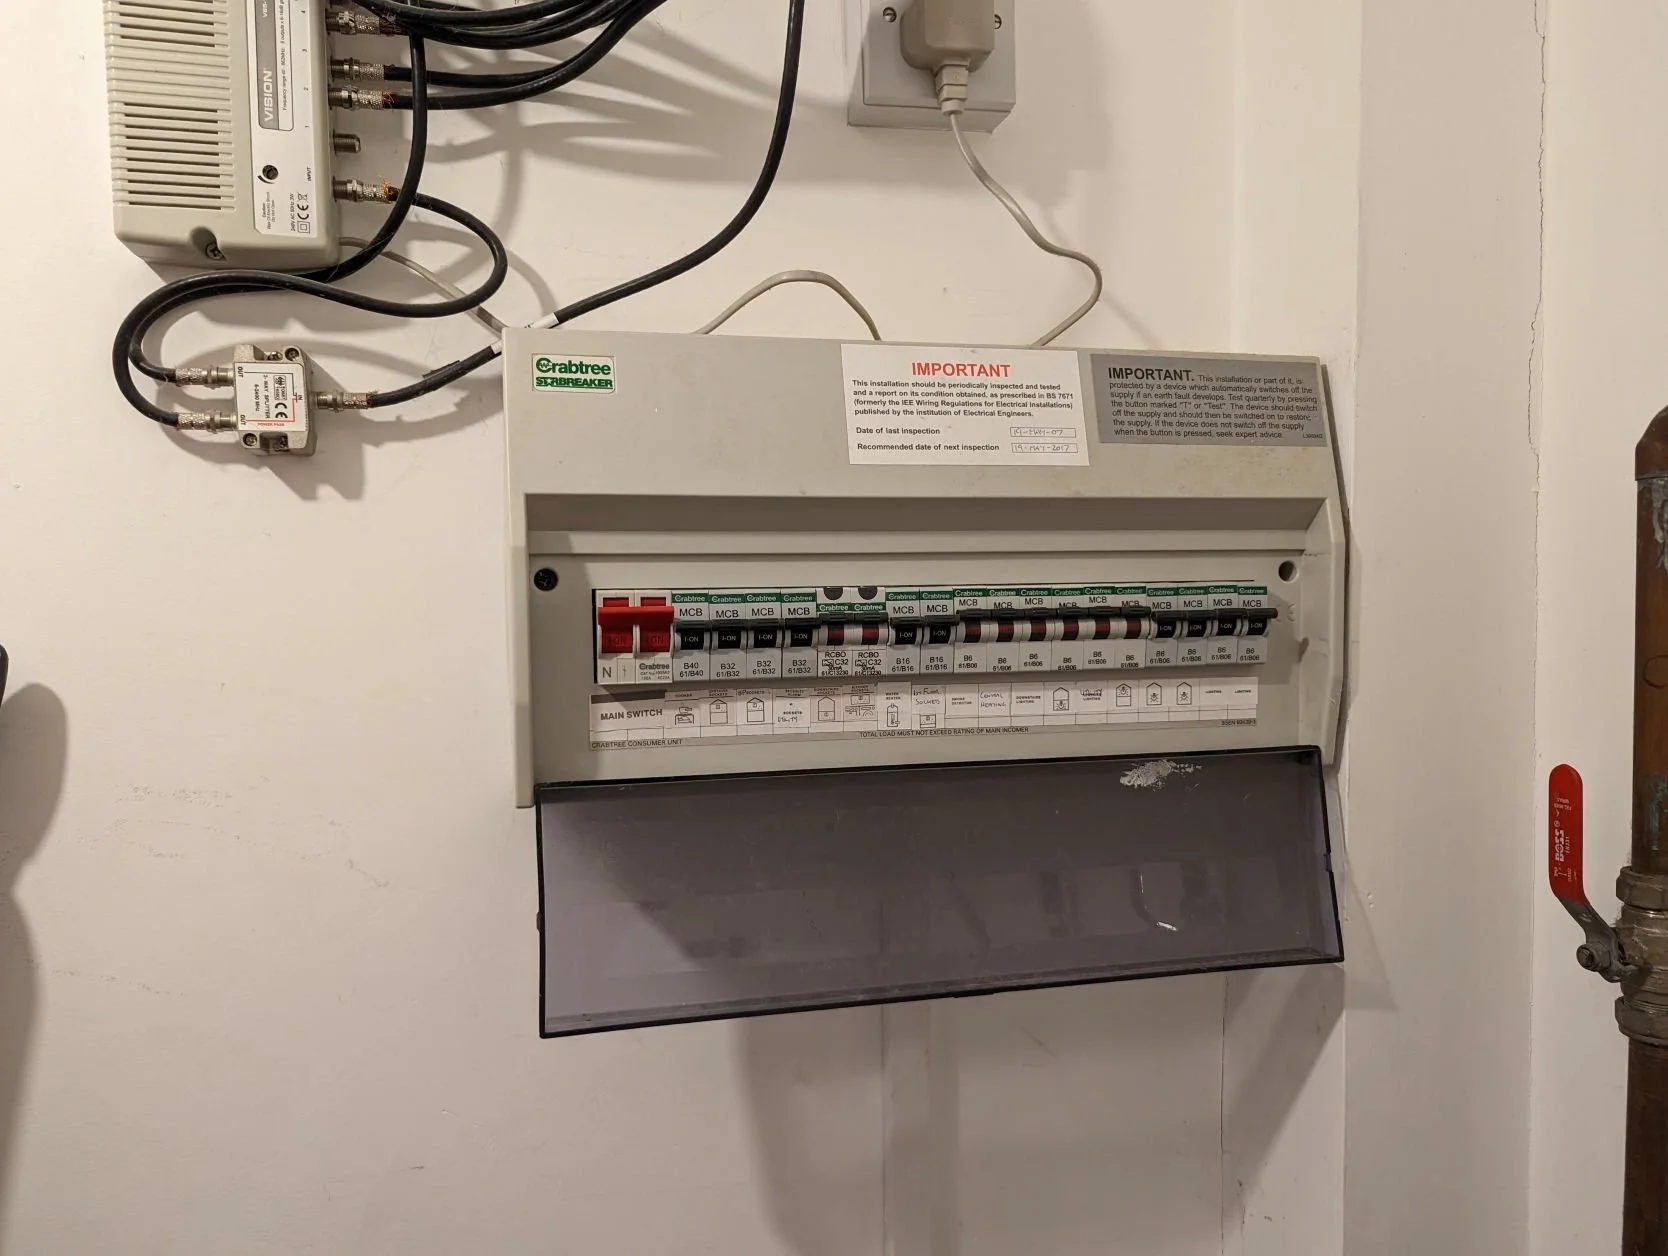
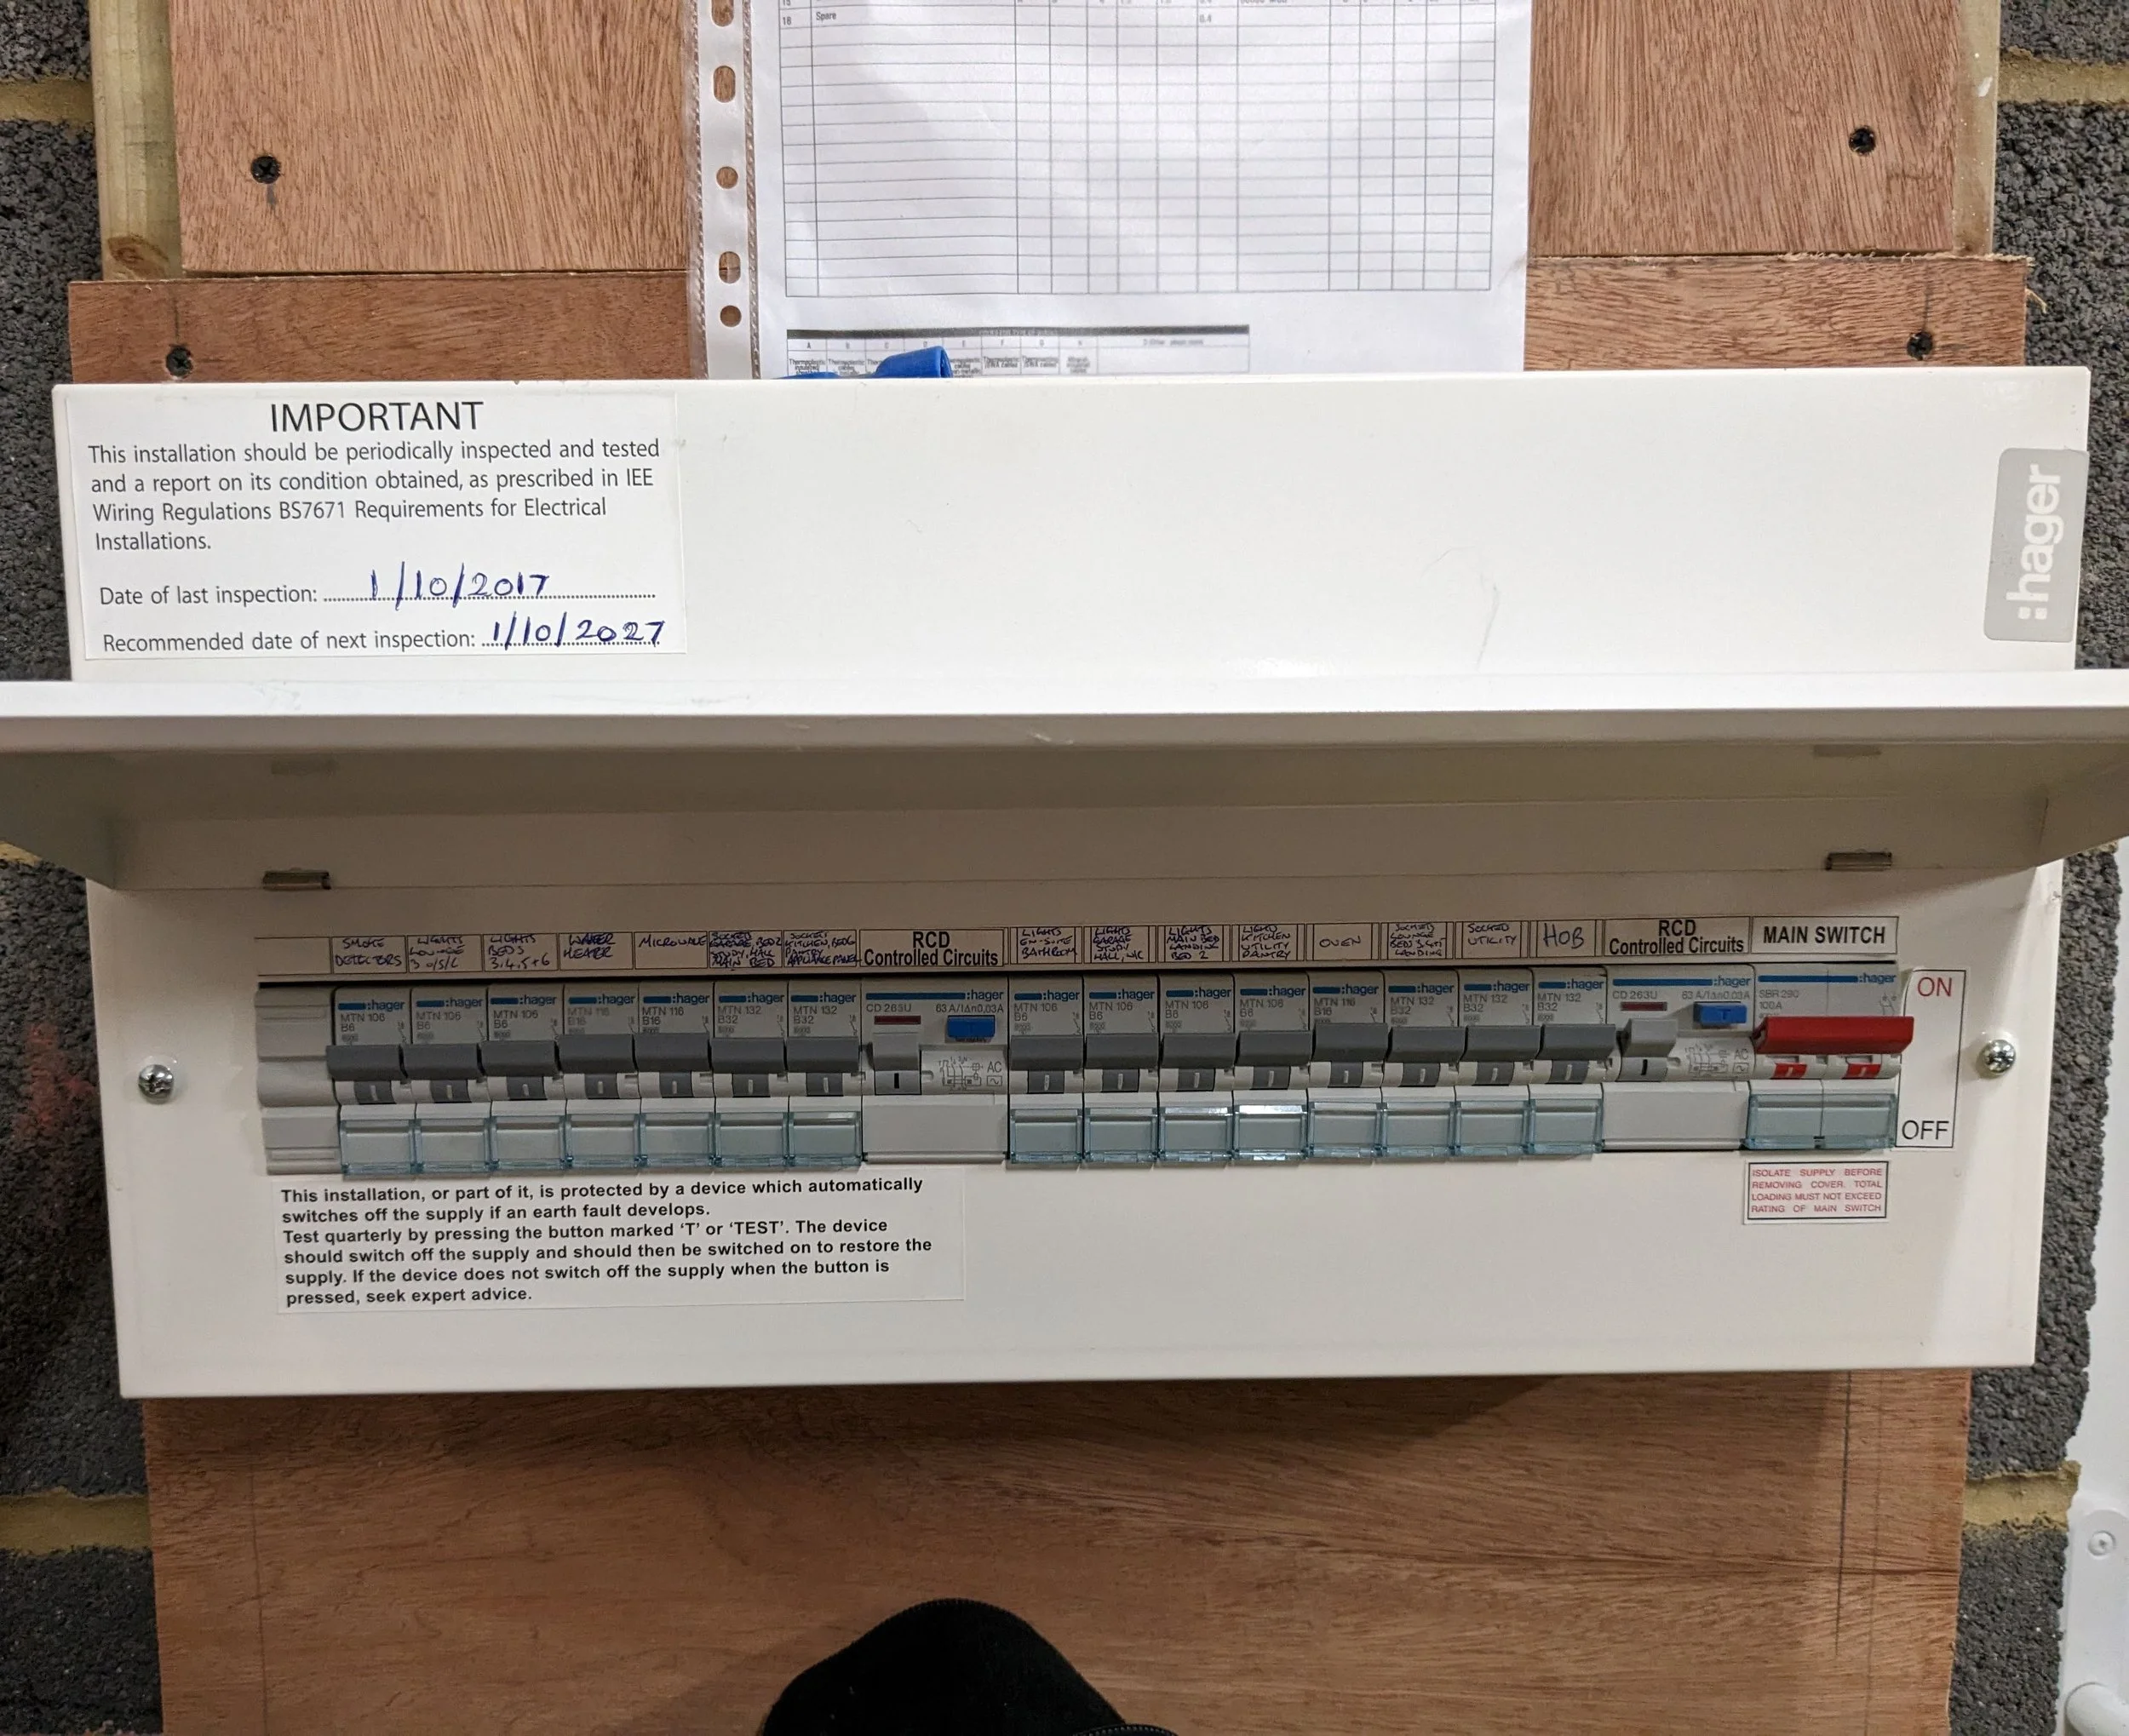
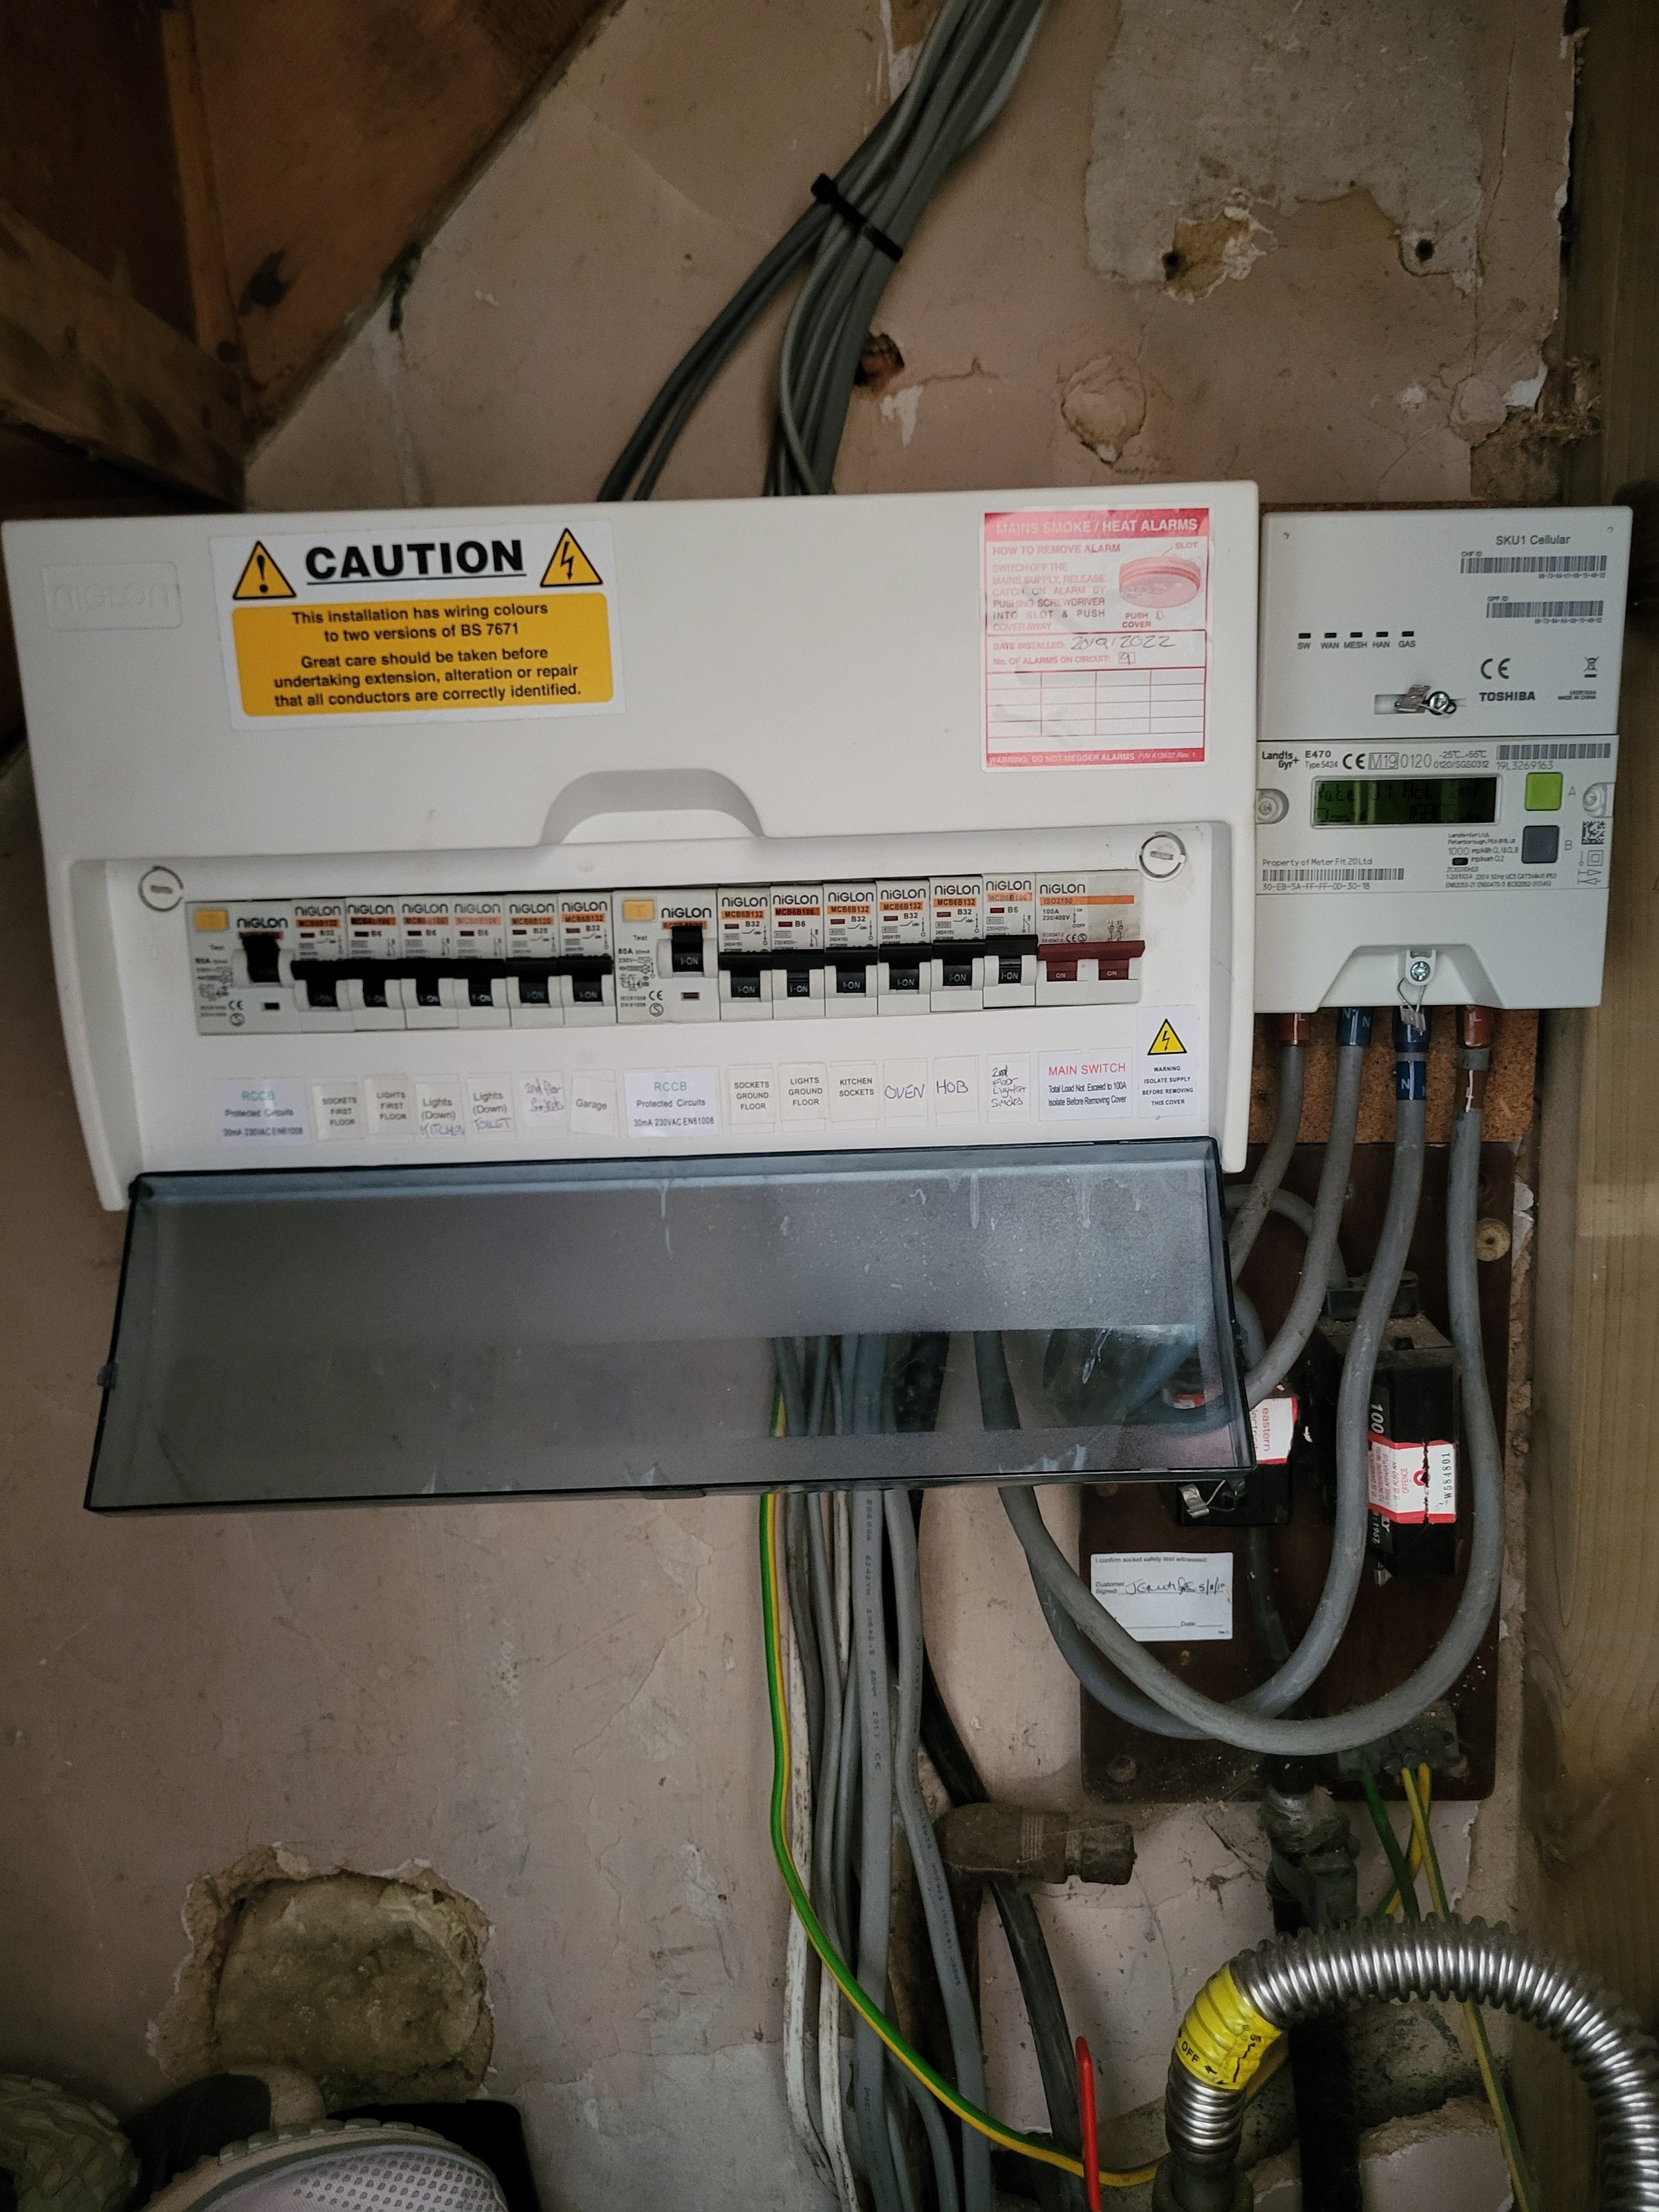
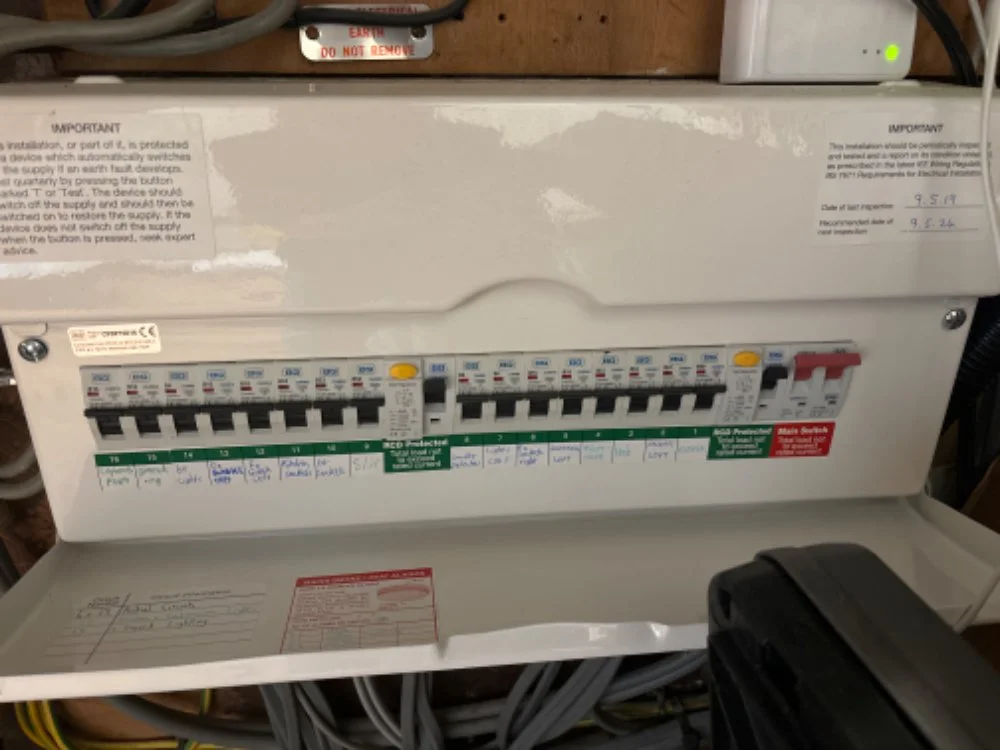
Take a photo of your consumer unit (fuse board) with the cover open so all breakers are visible. The photo should be taken slightly back rather than zoomed in, and include the surrounding area so we can understand the full setup.
Incoming Electricity Supply & Meter
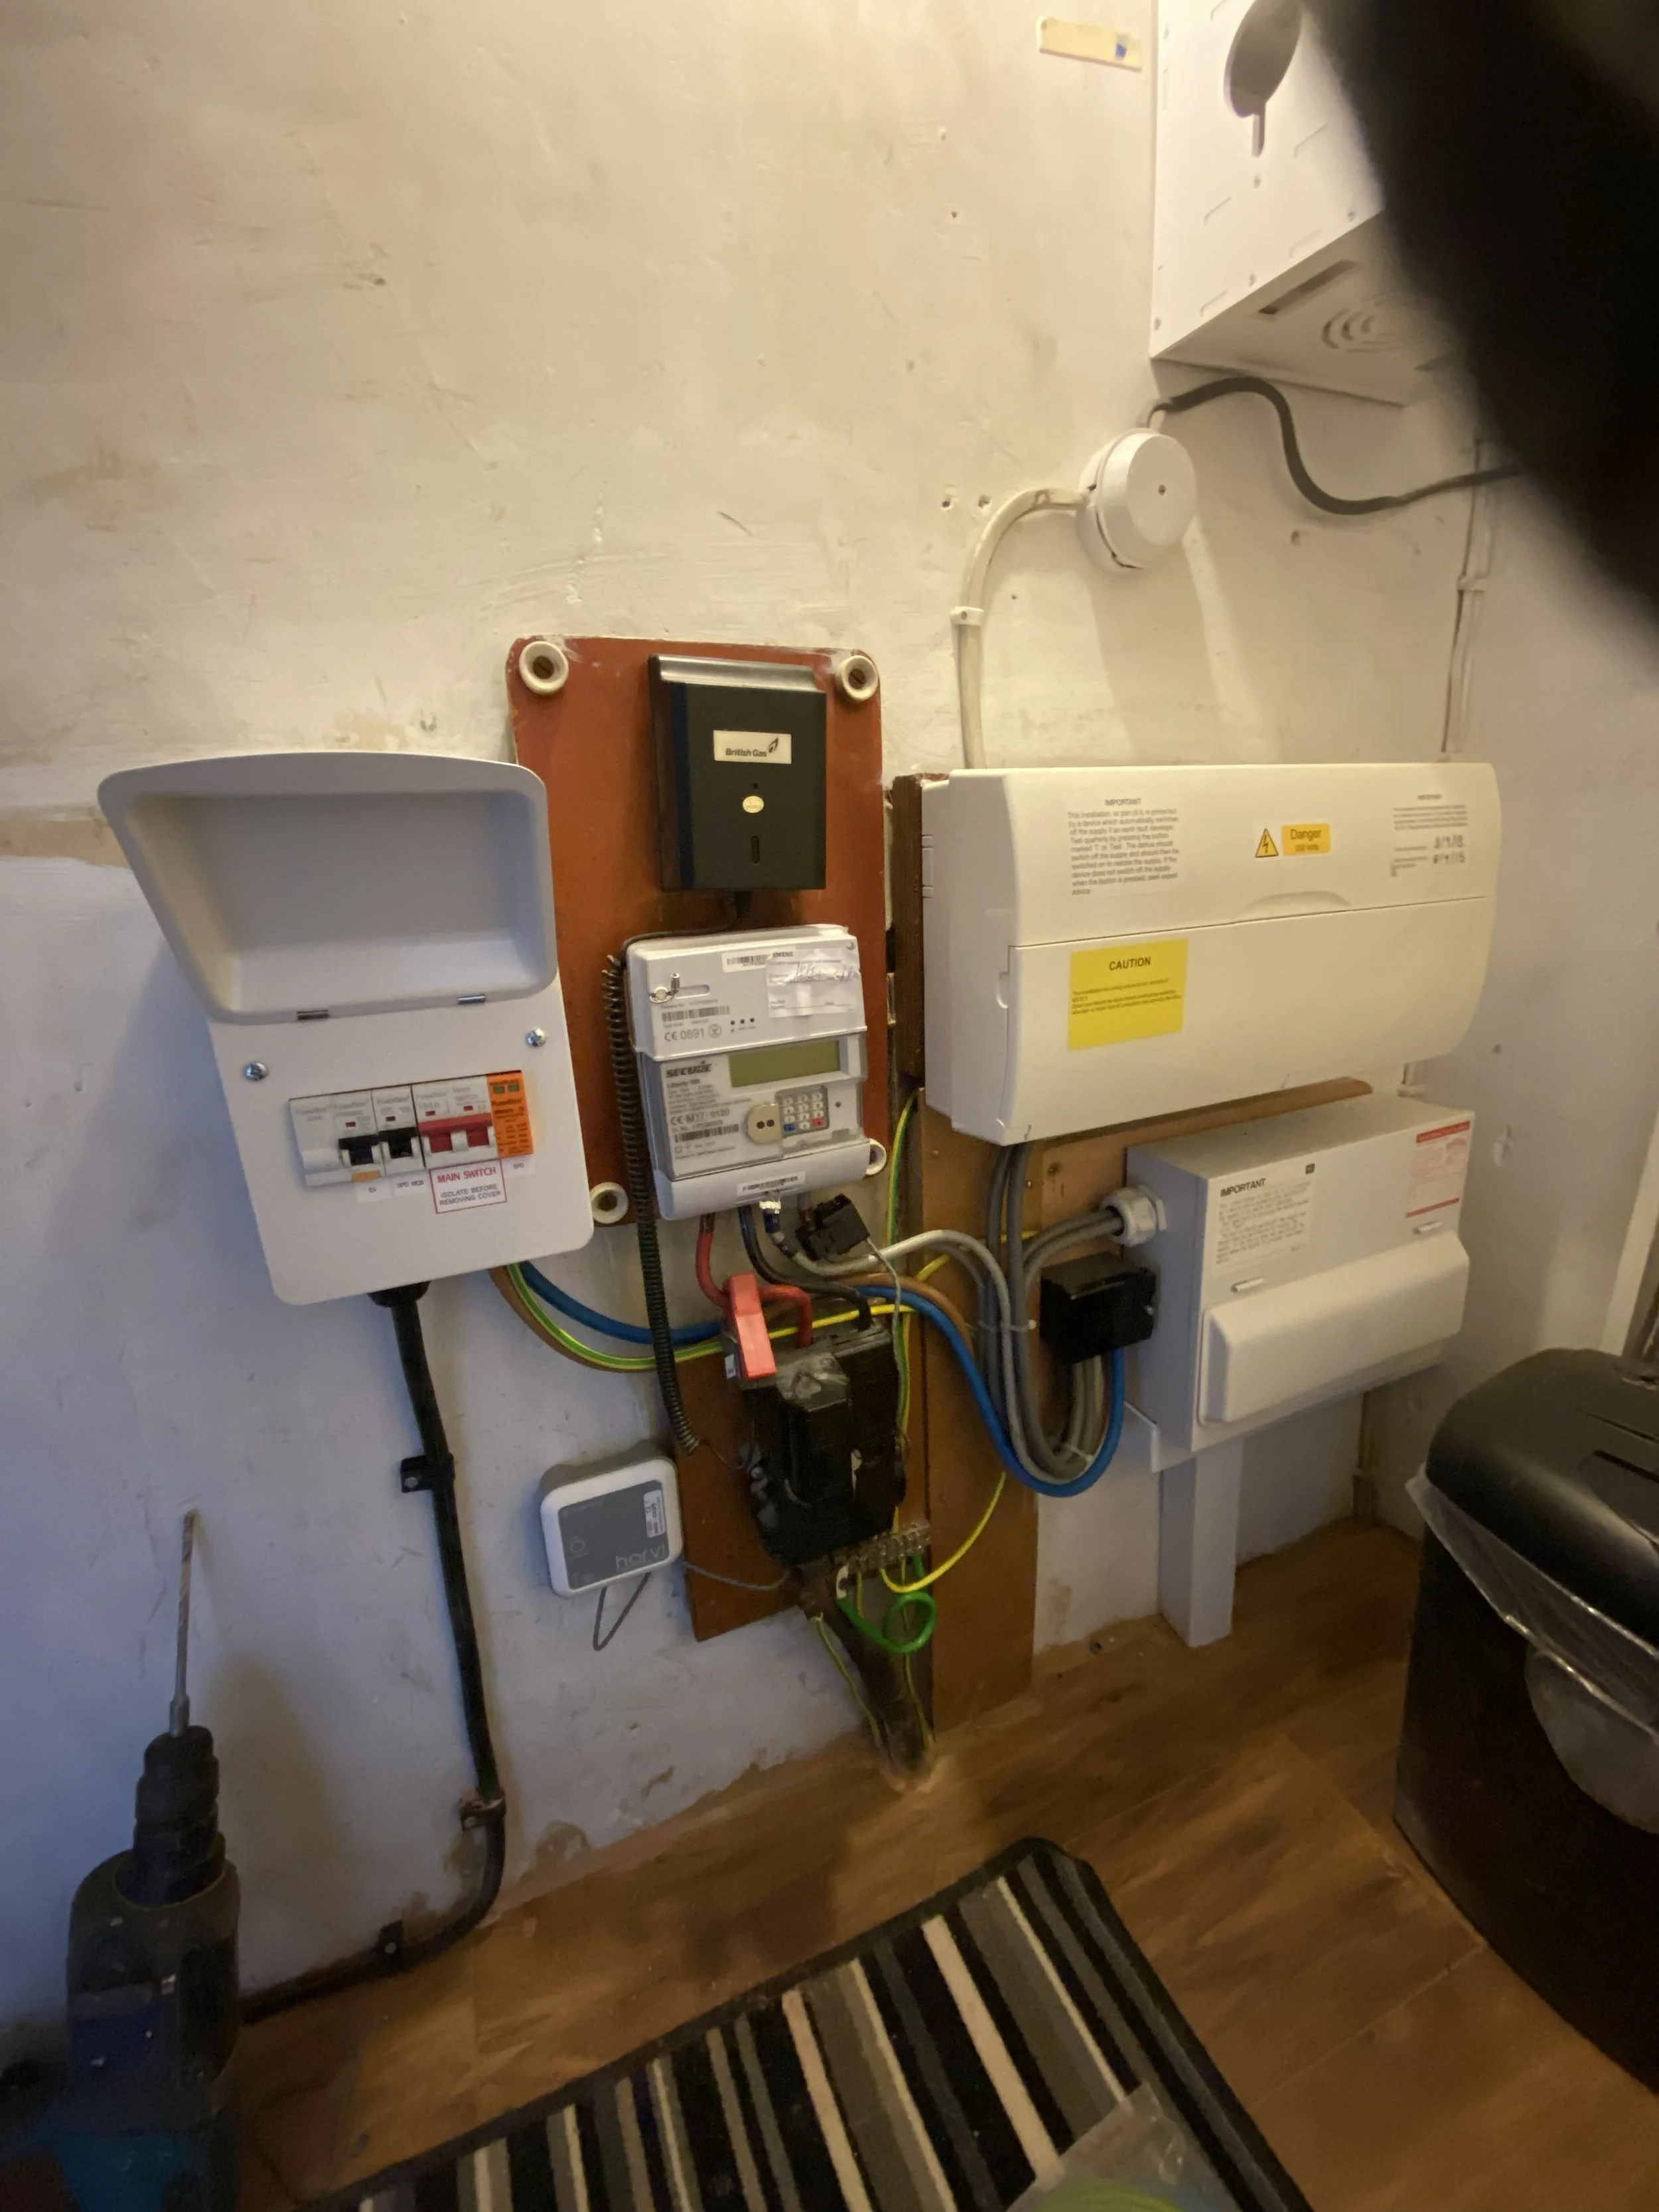
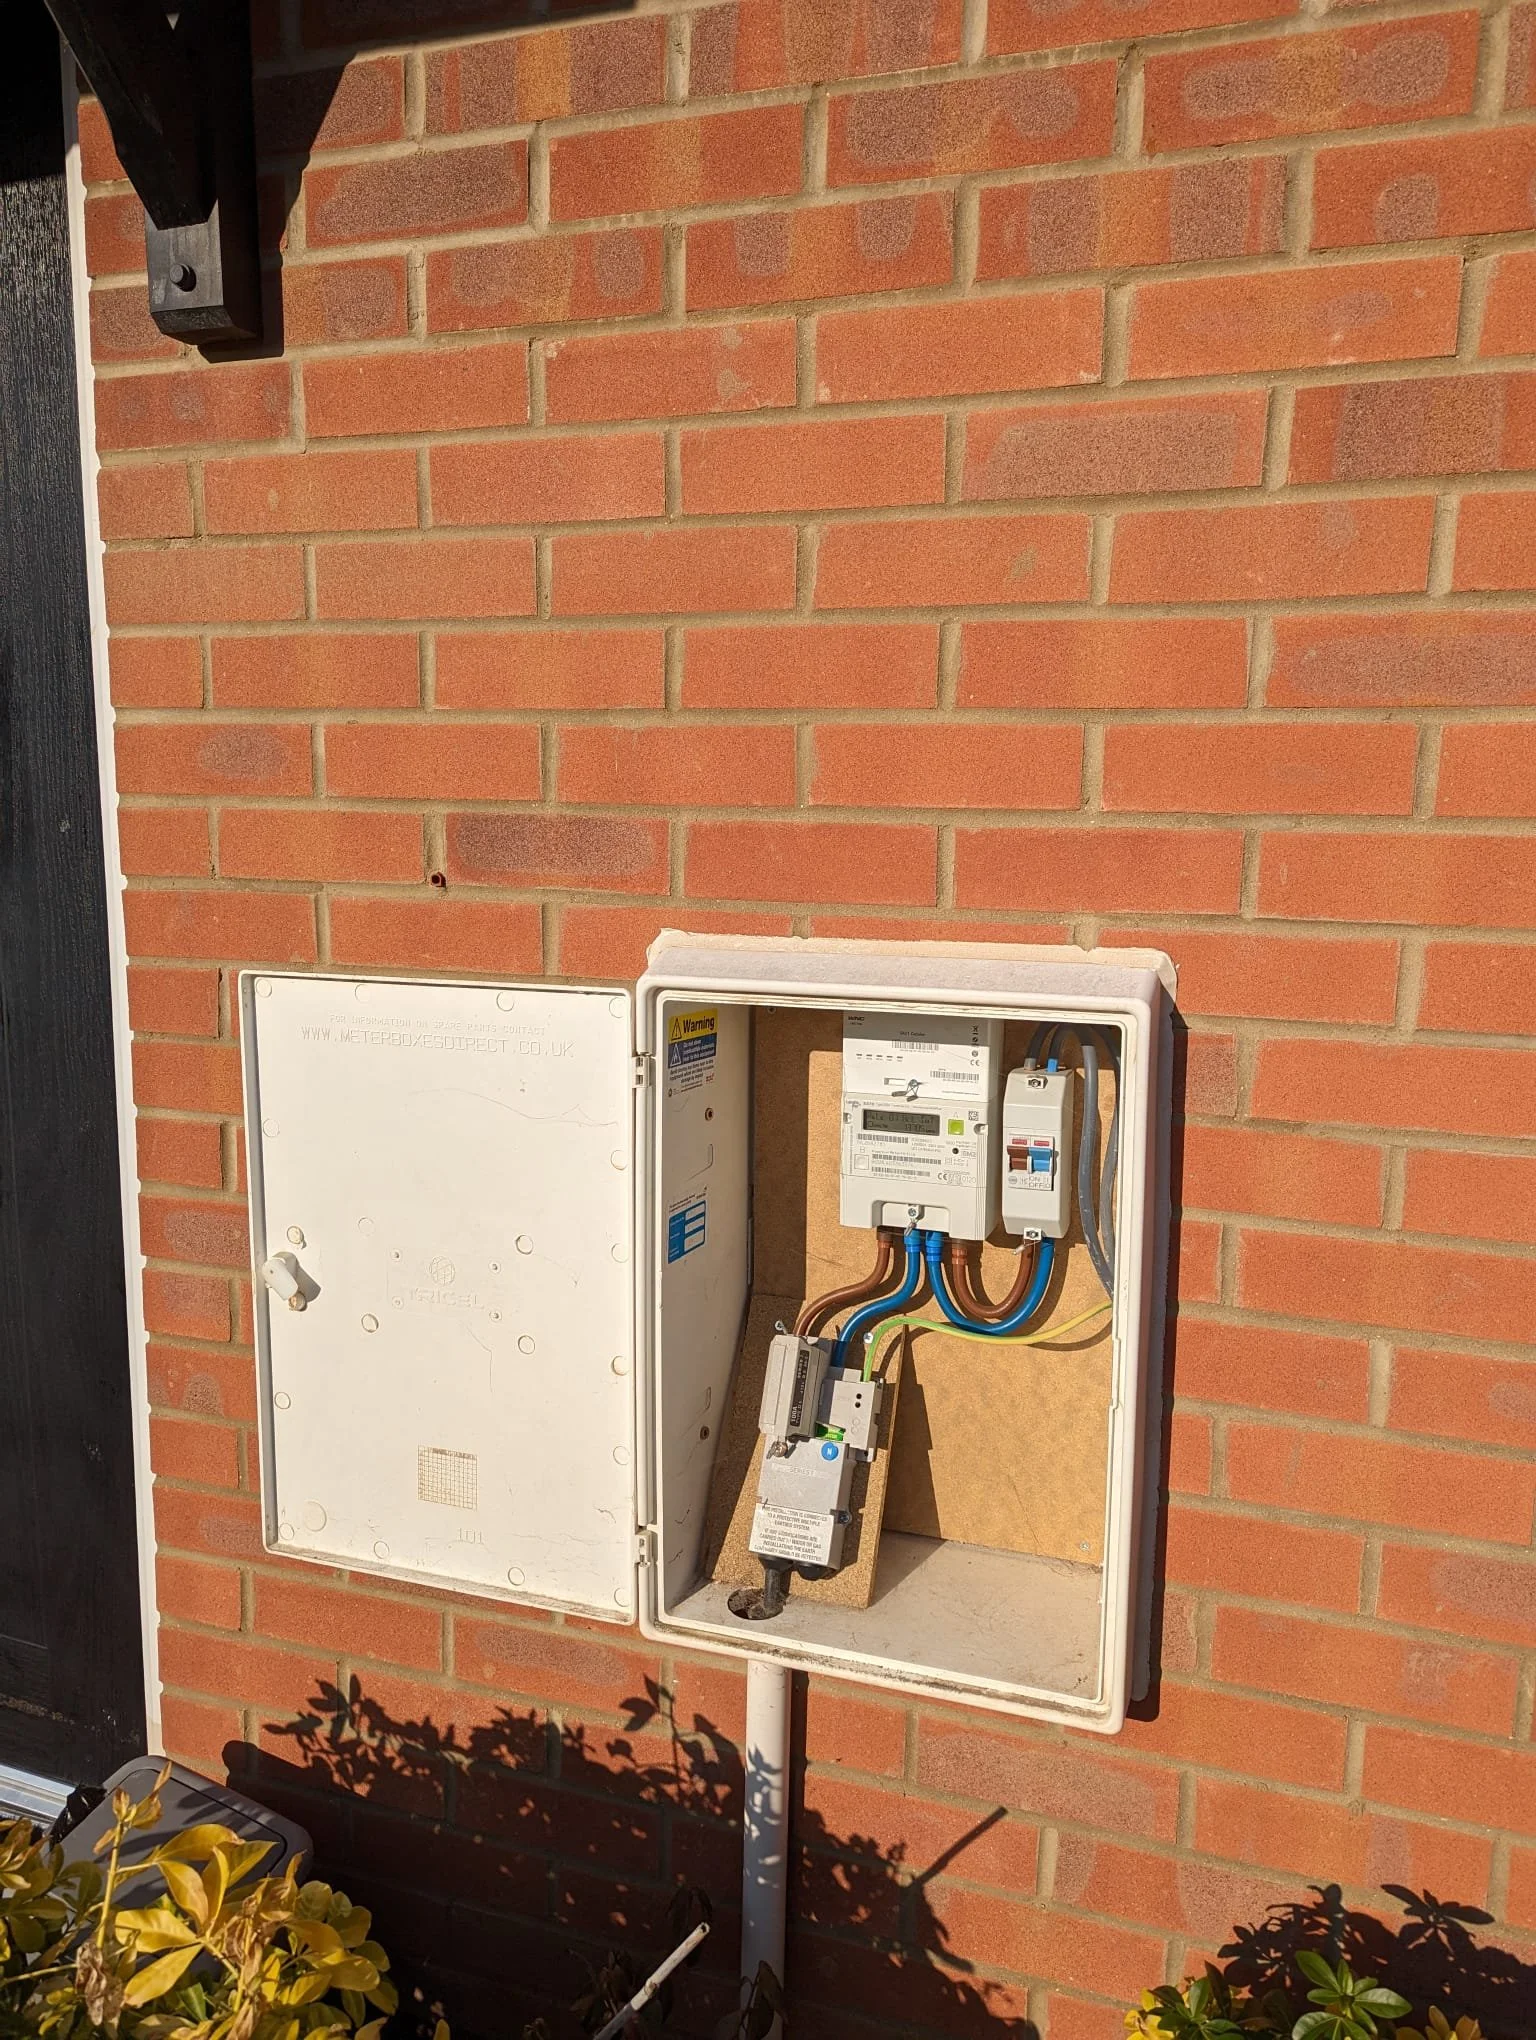
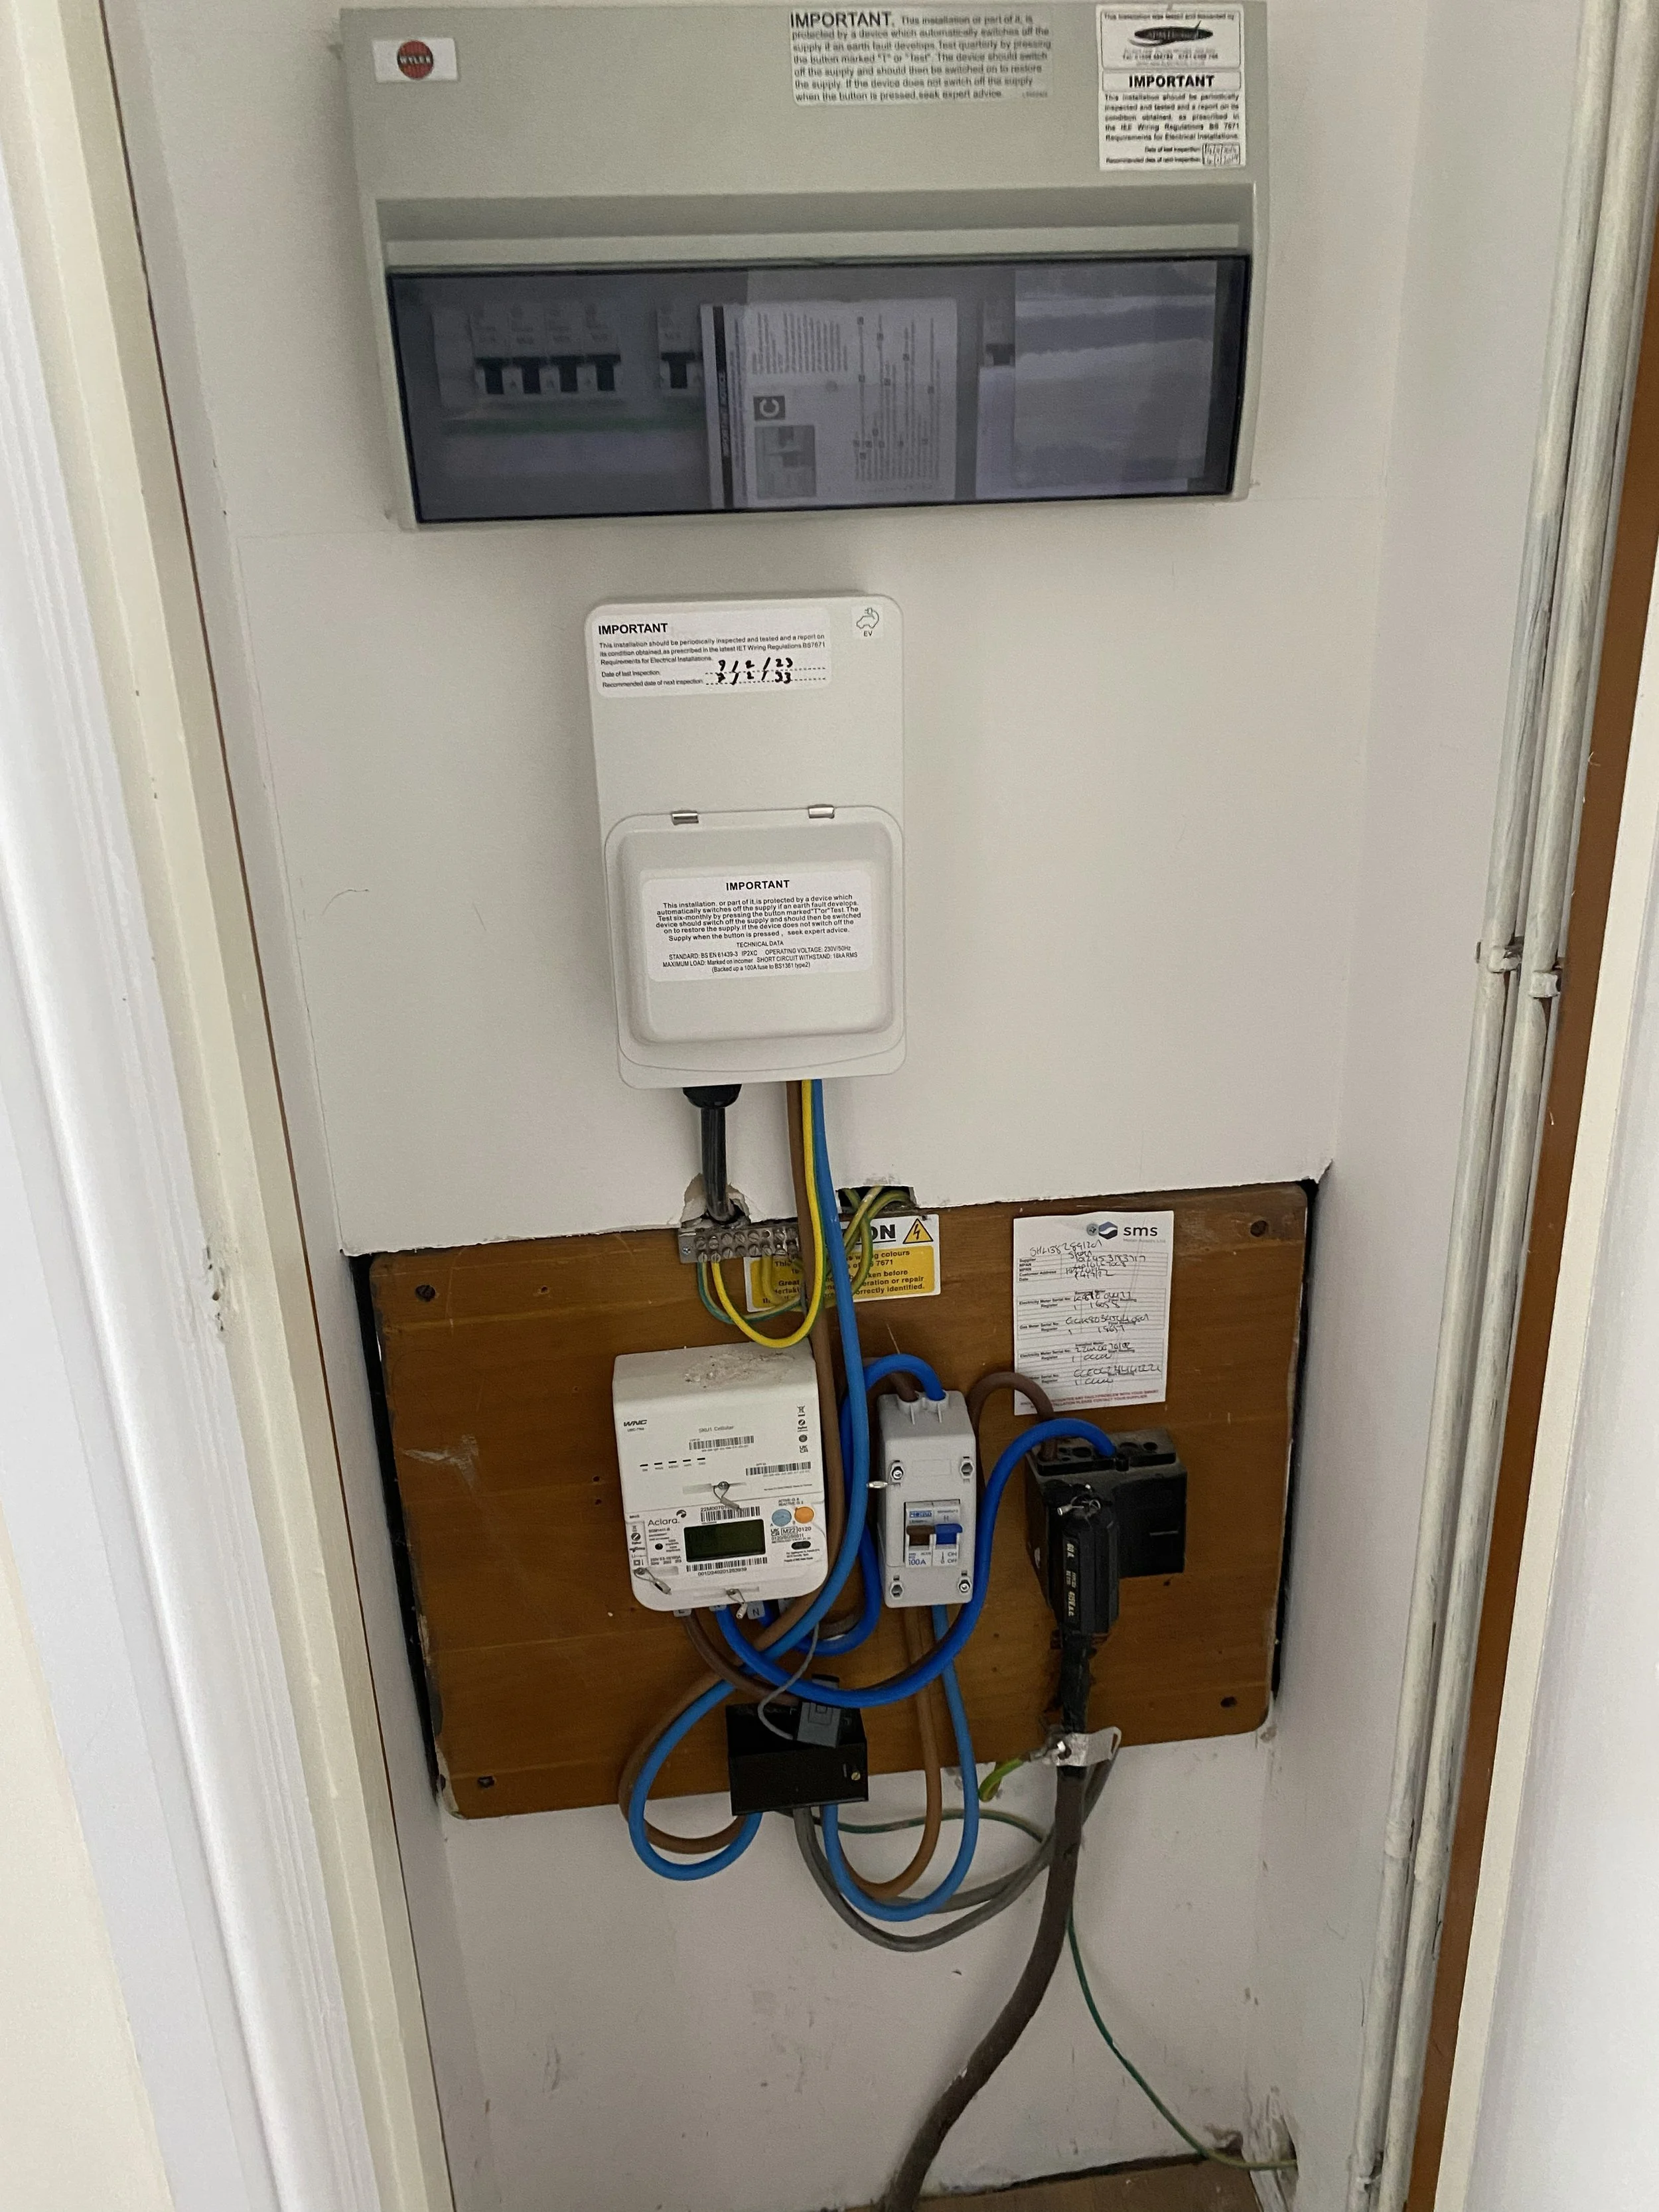
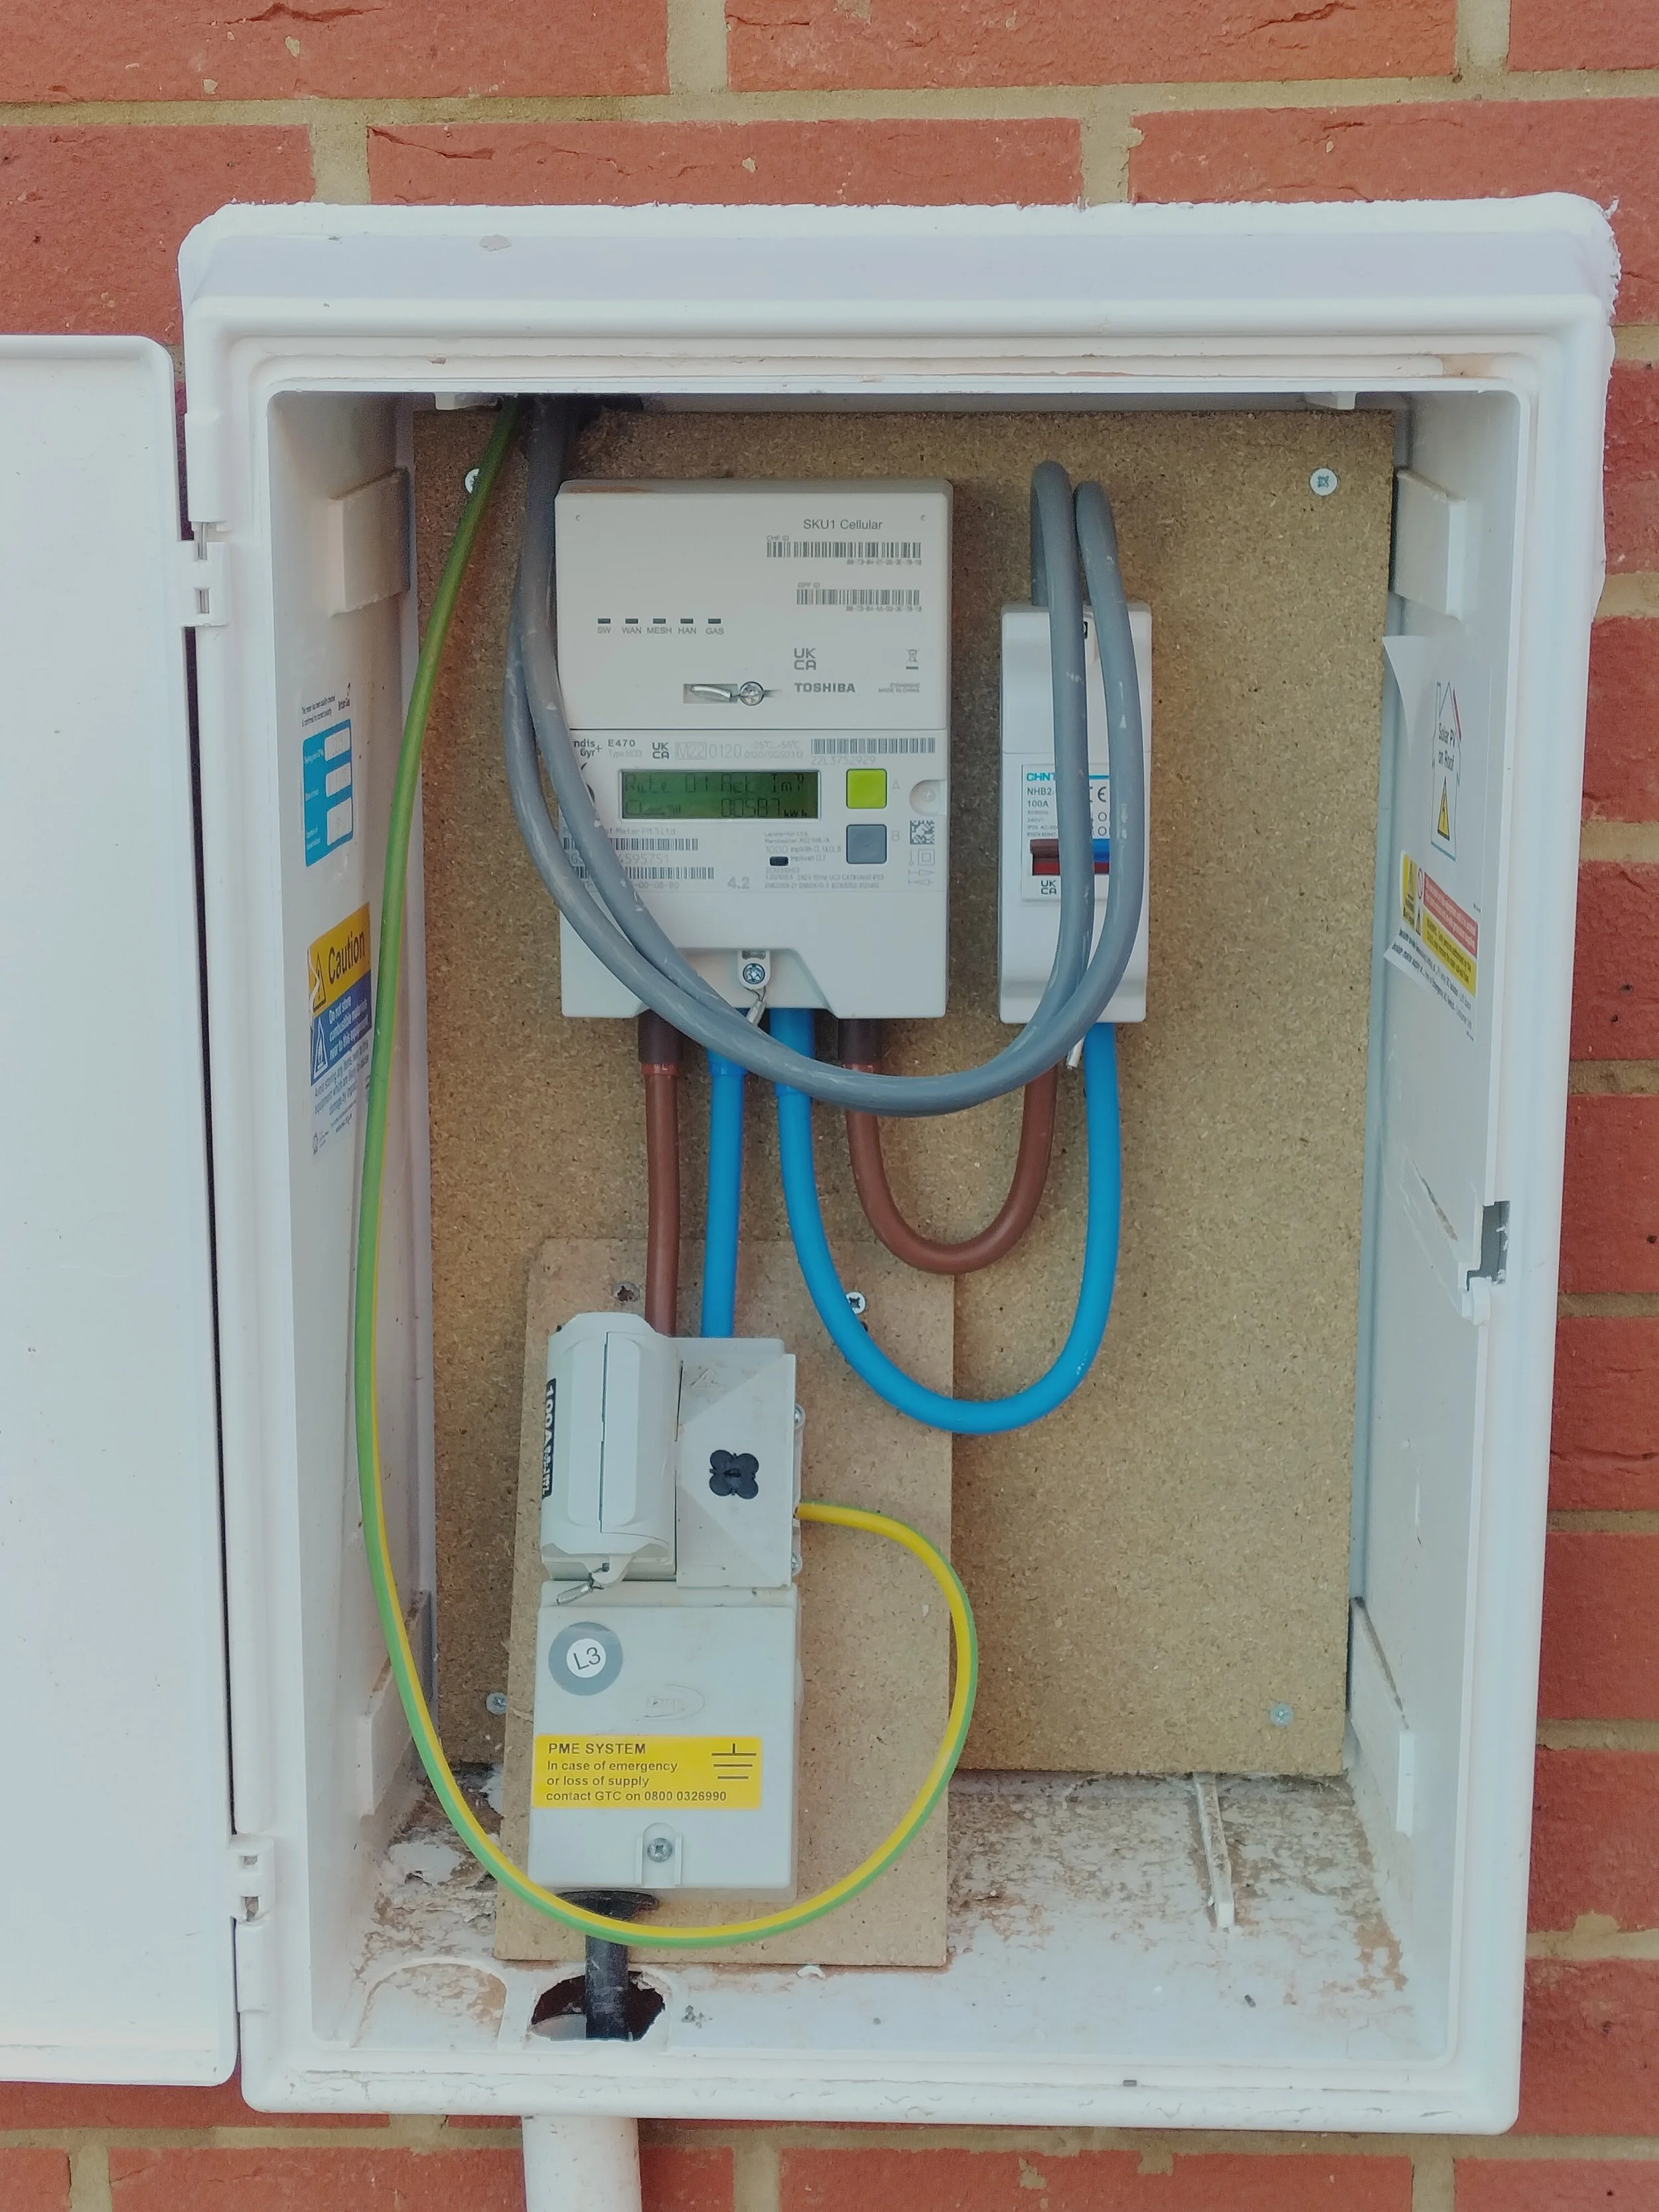
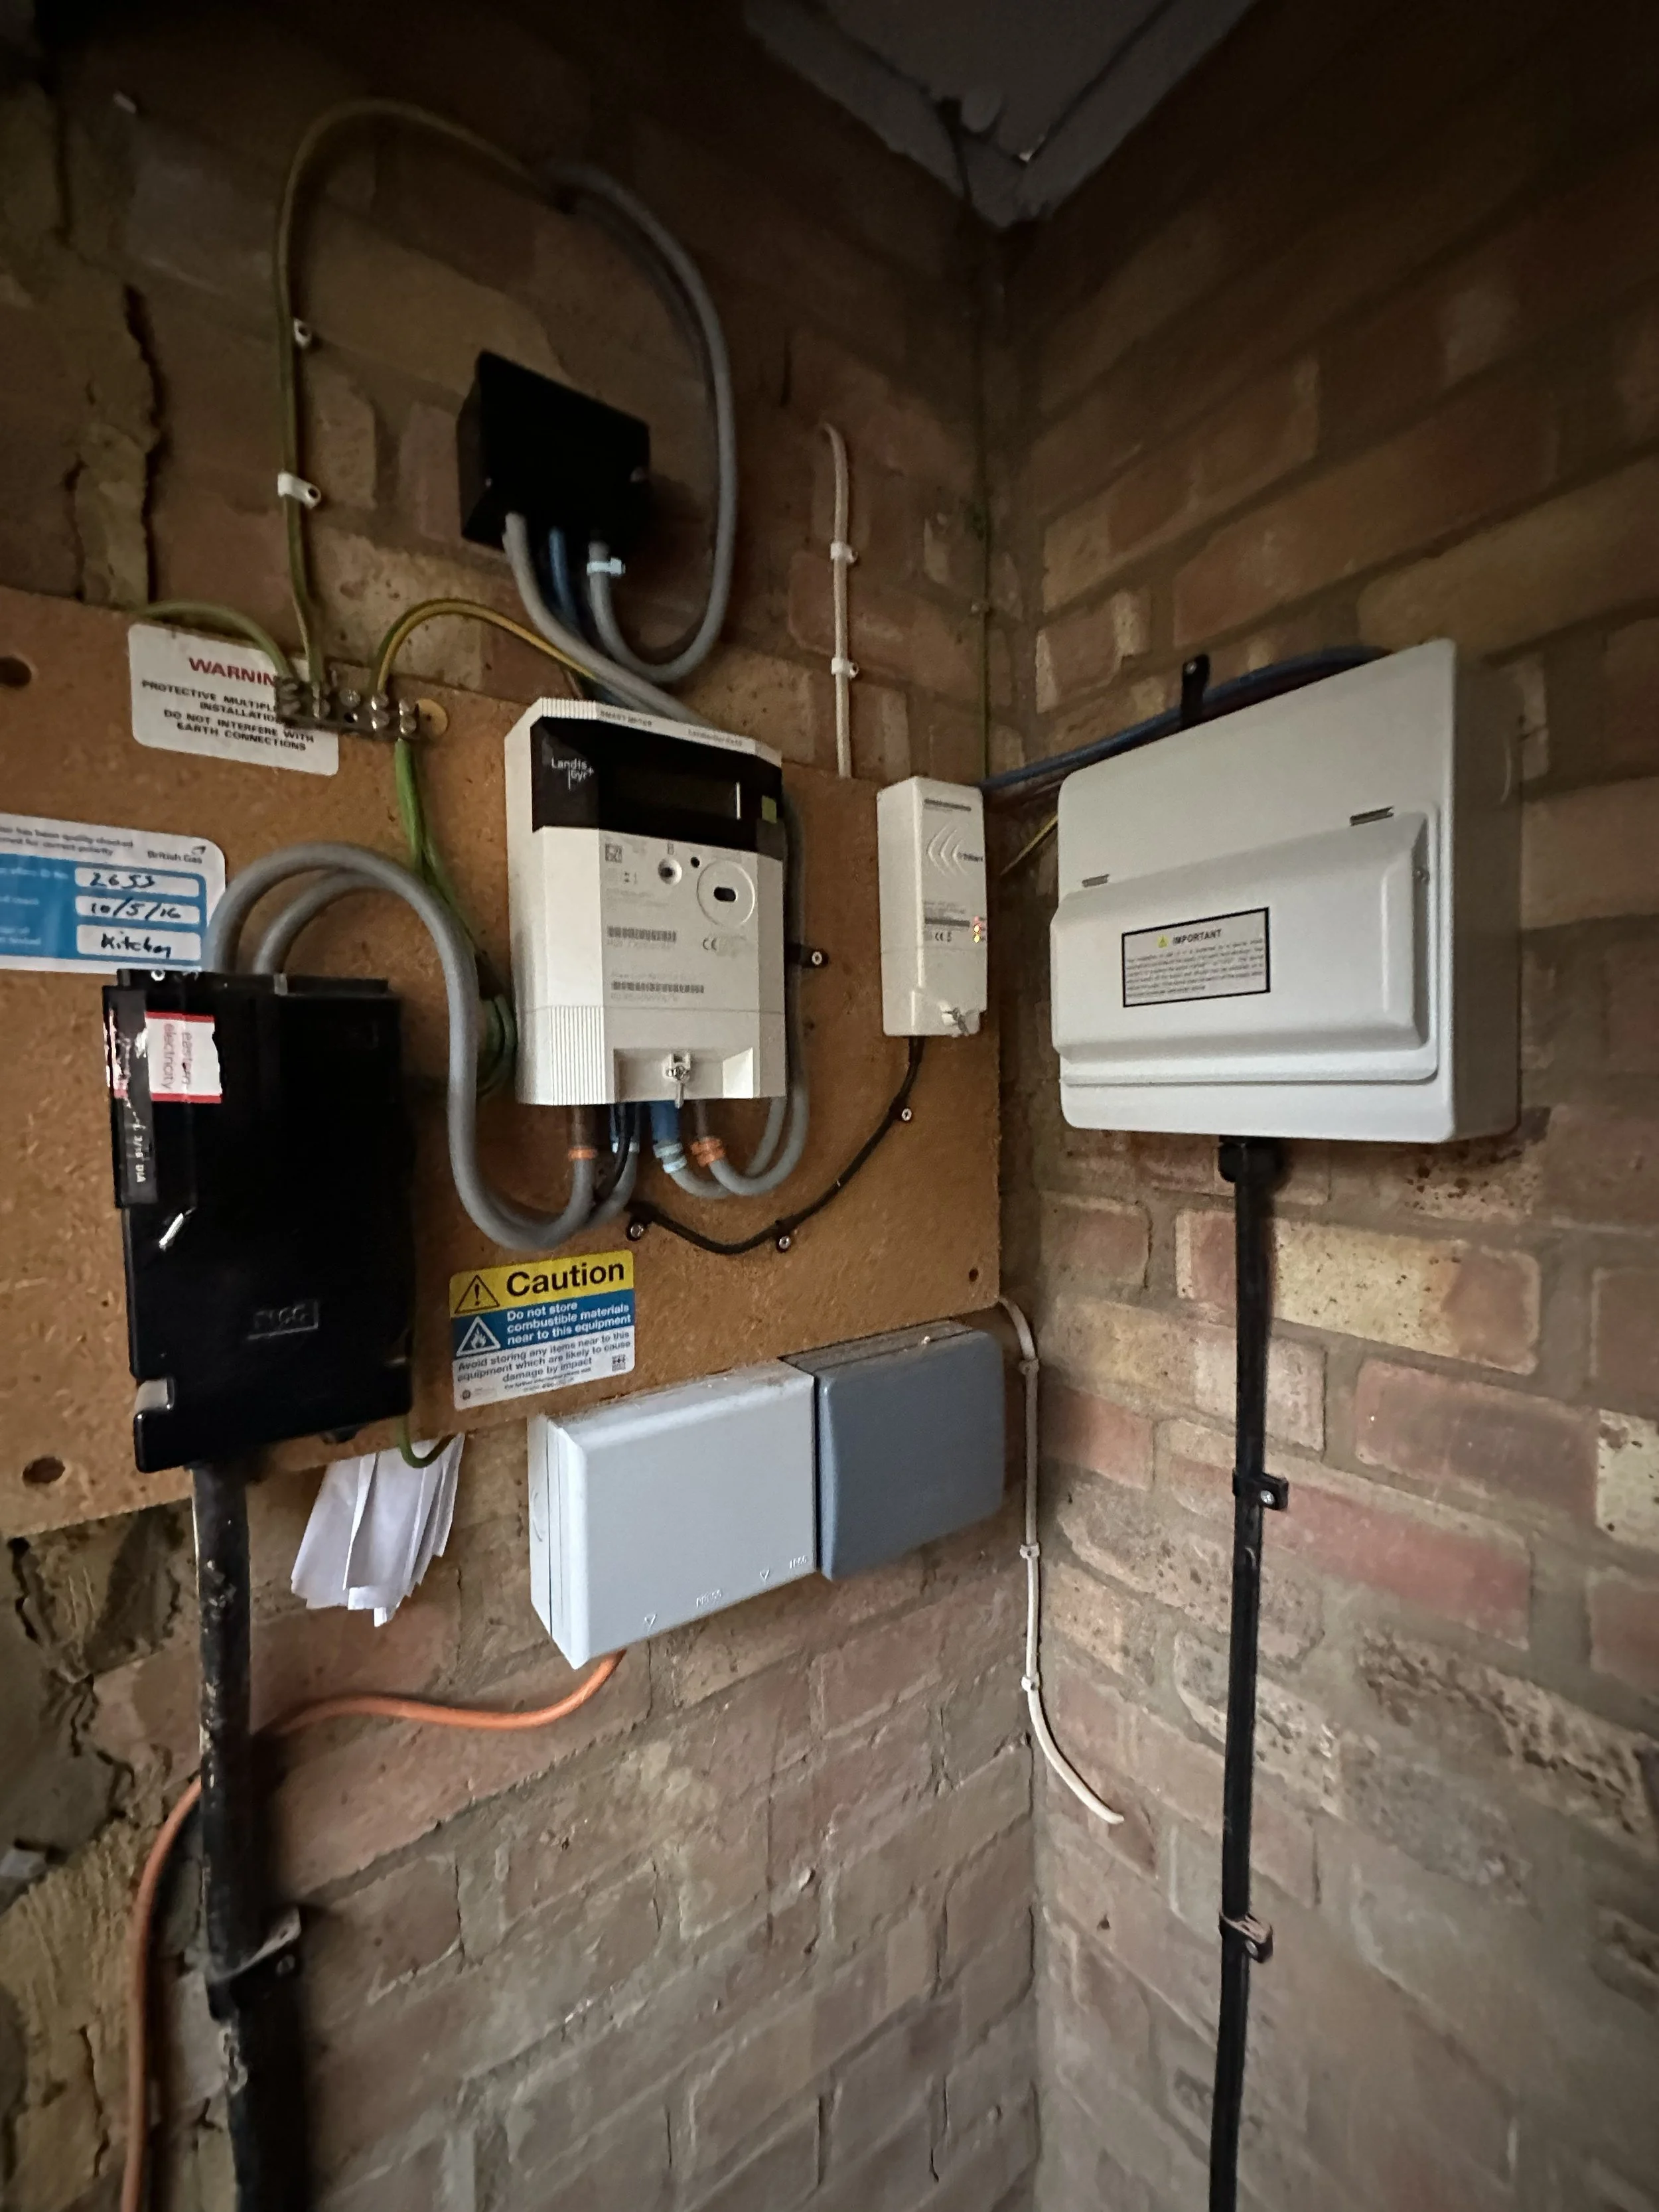
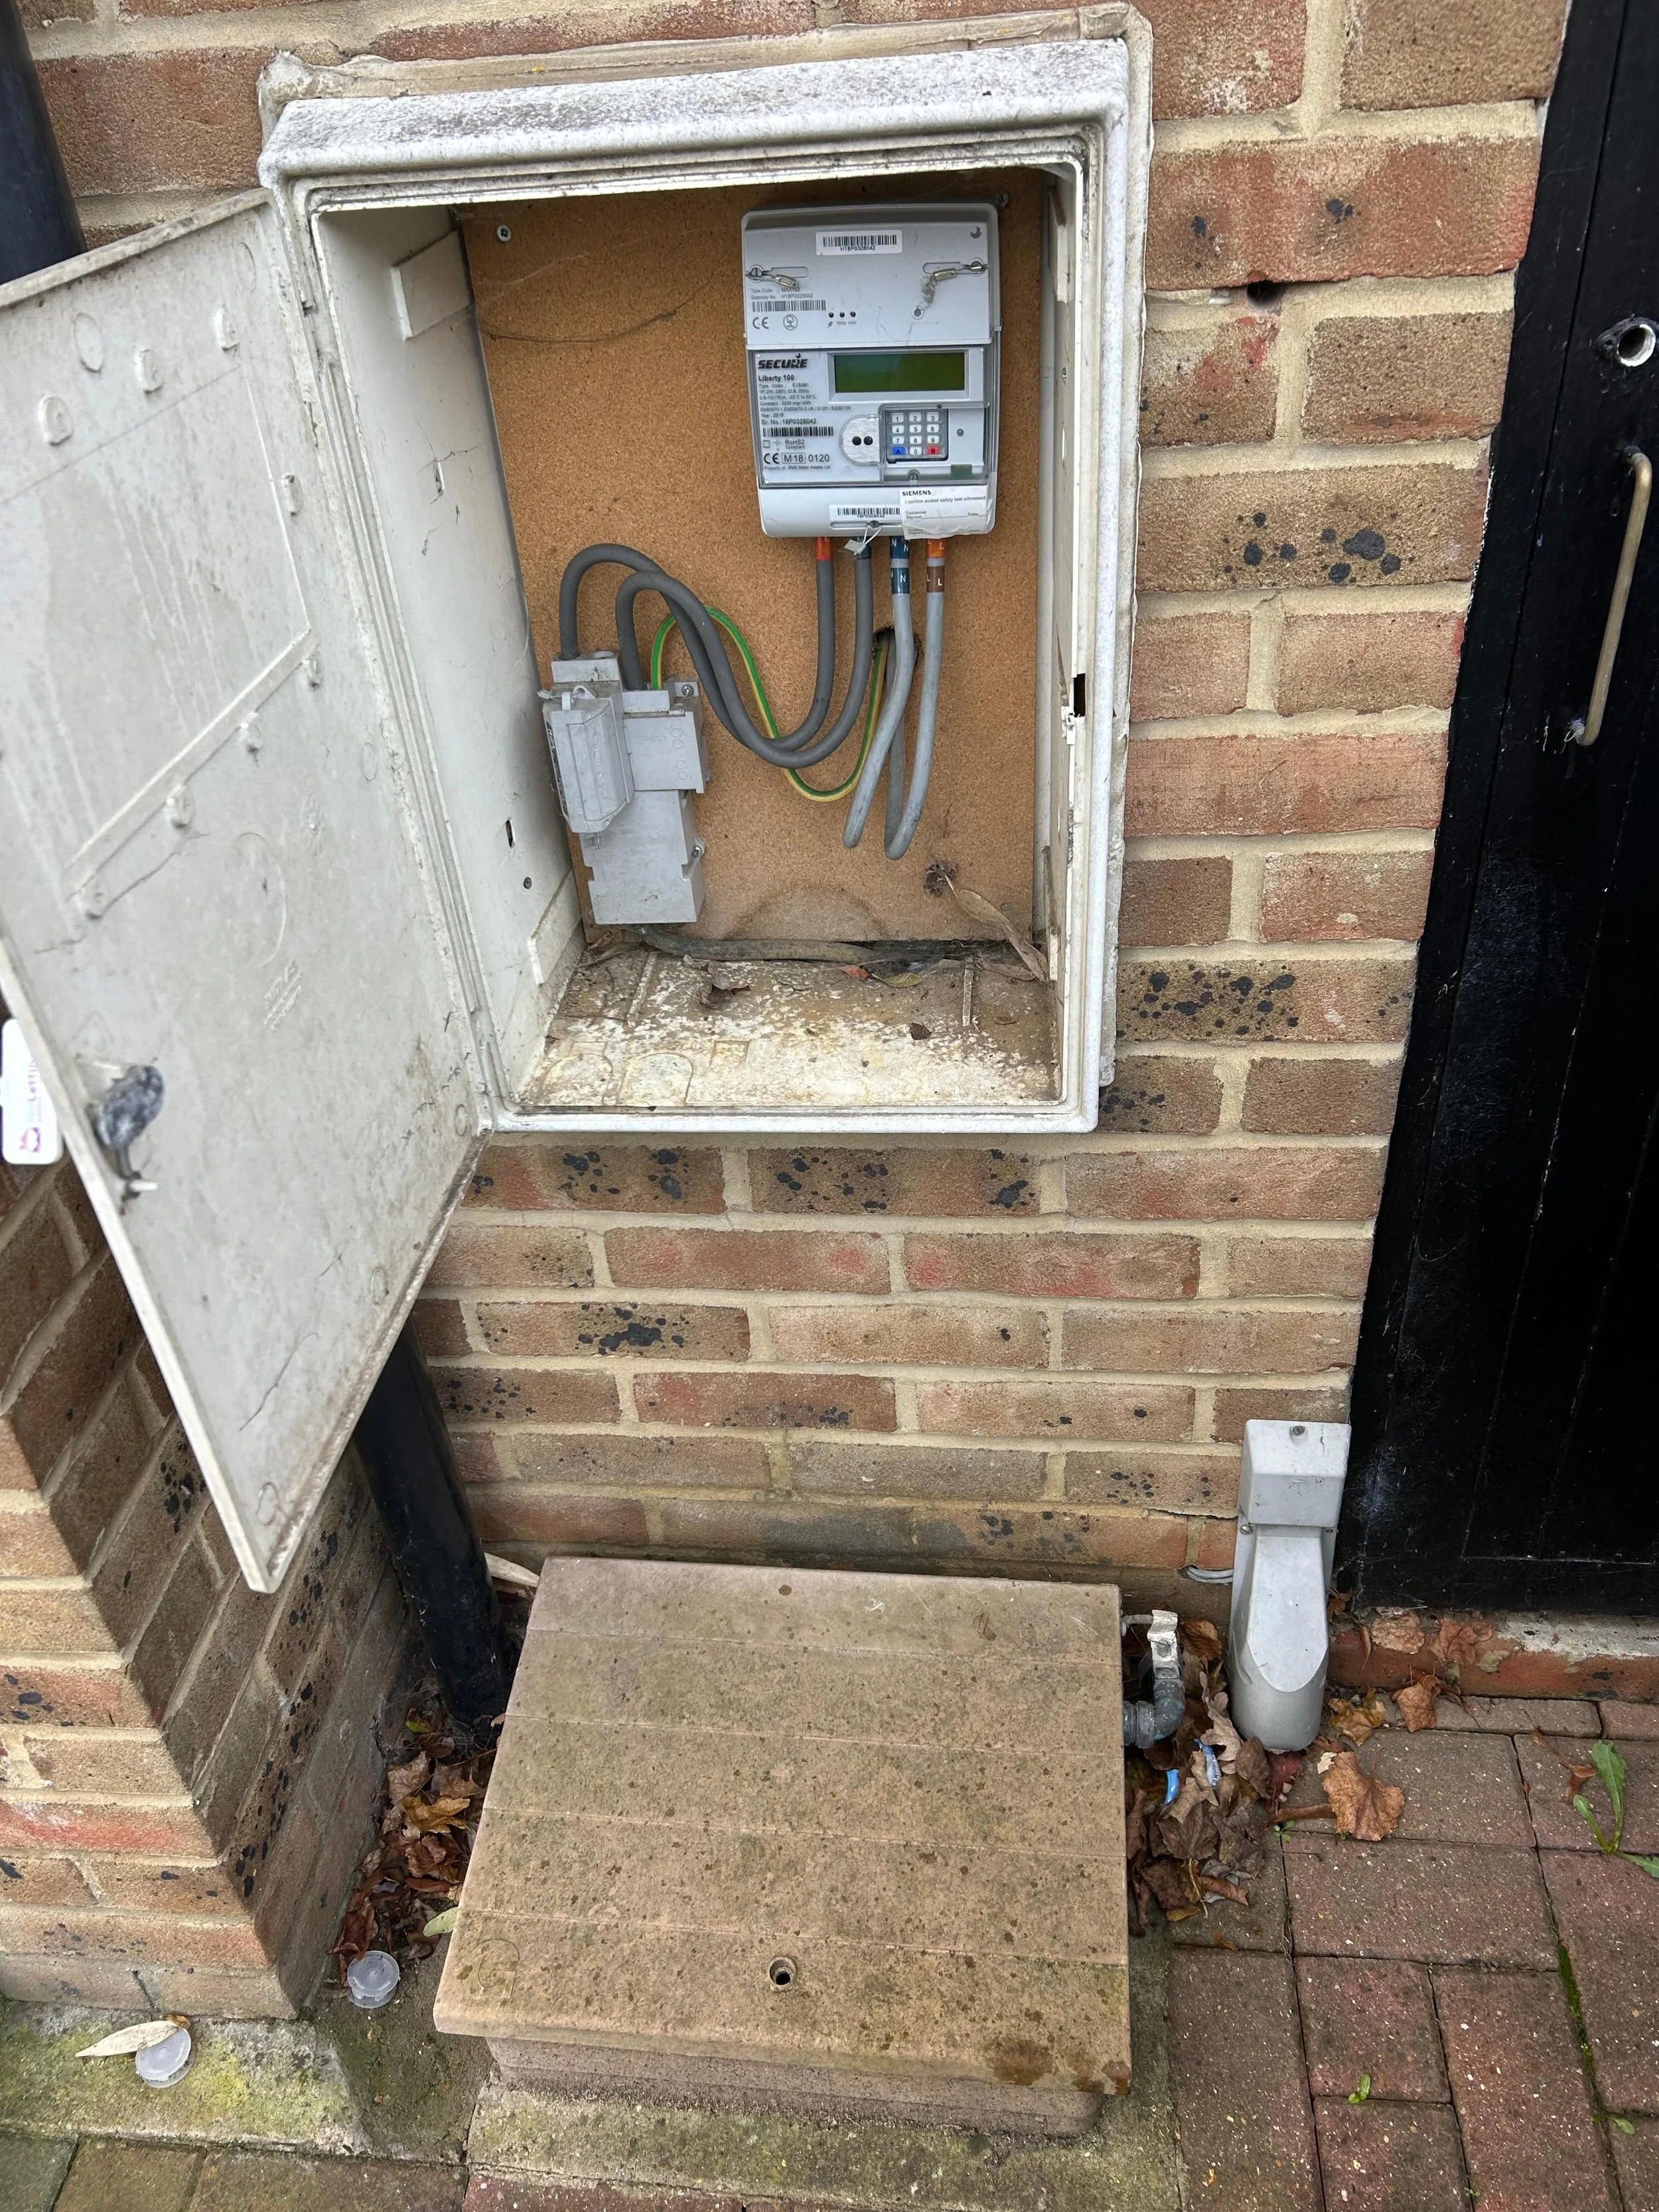
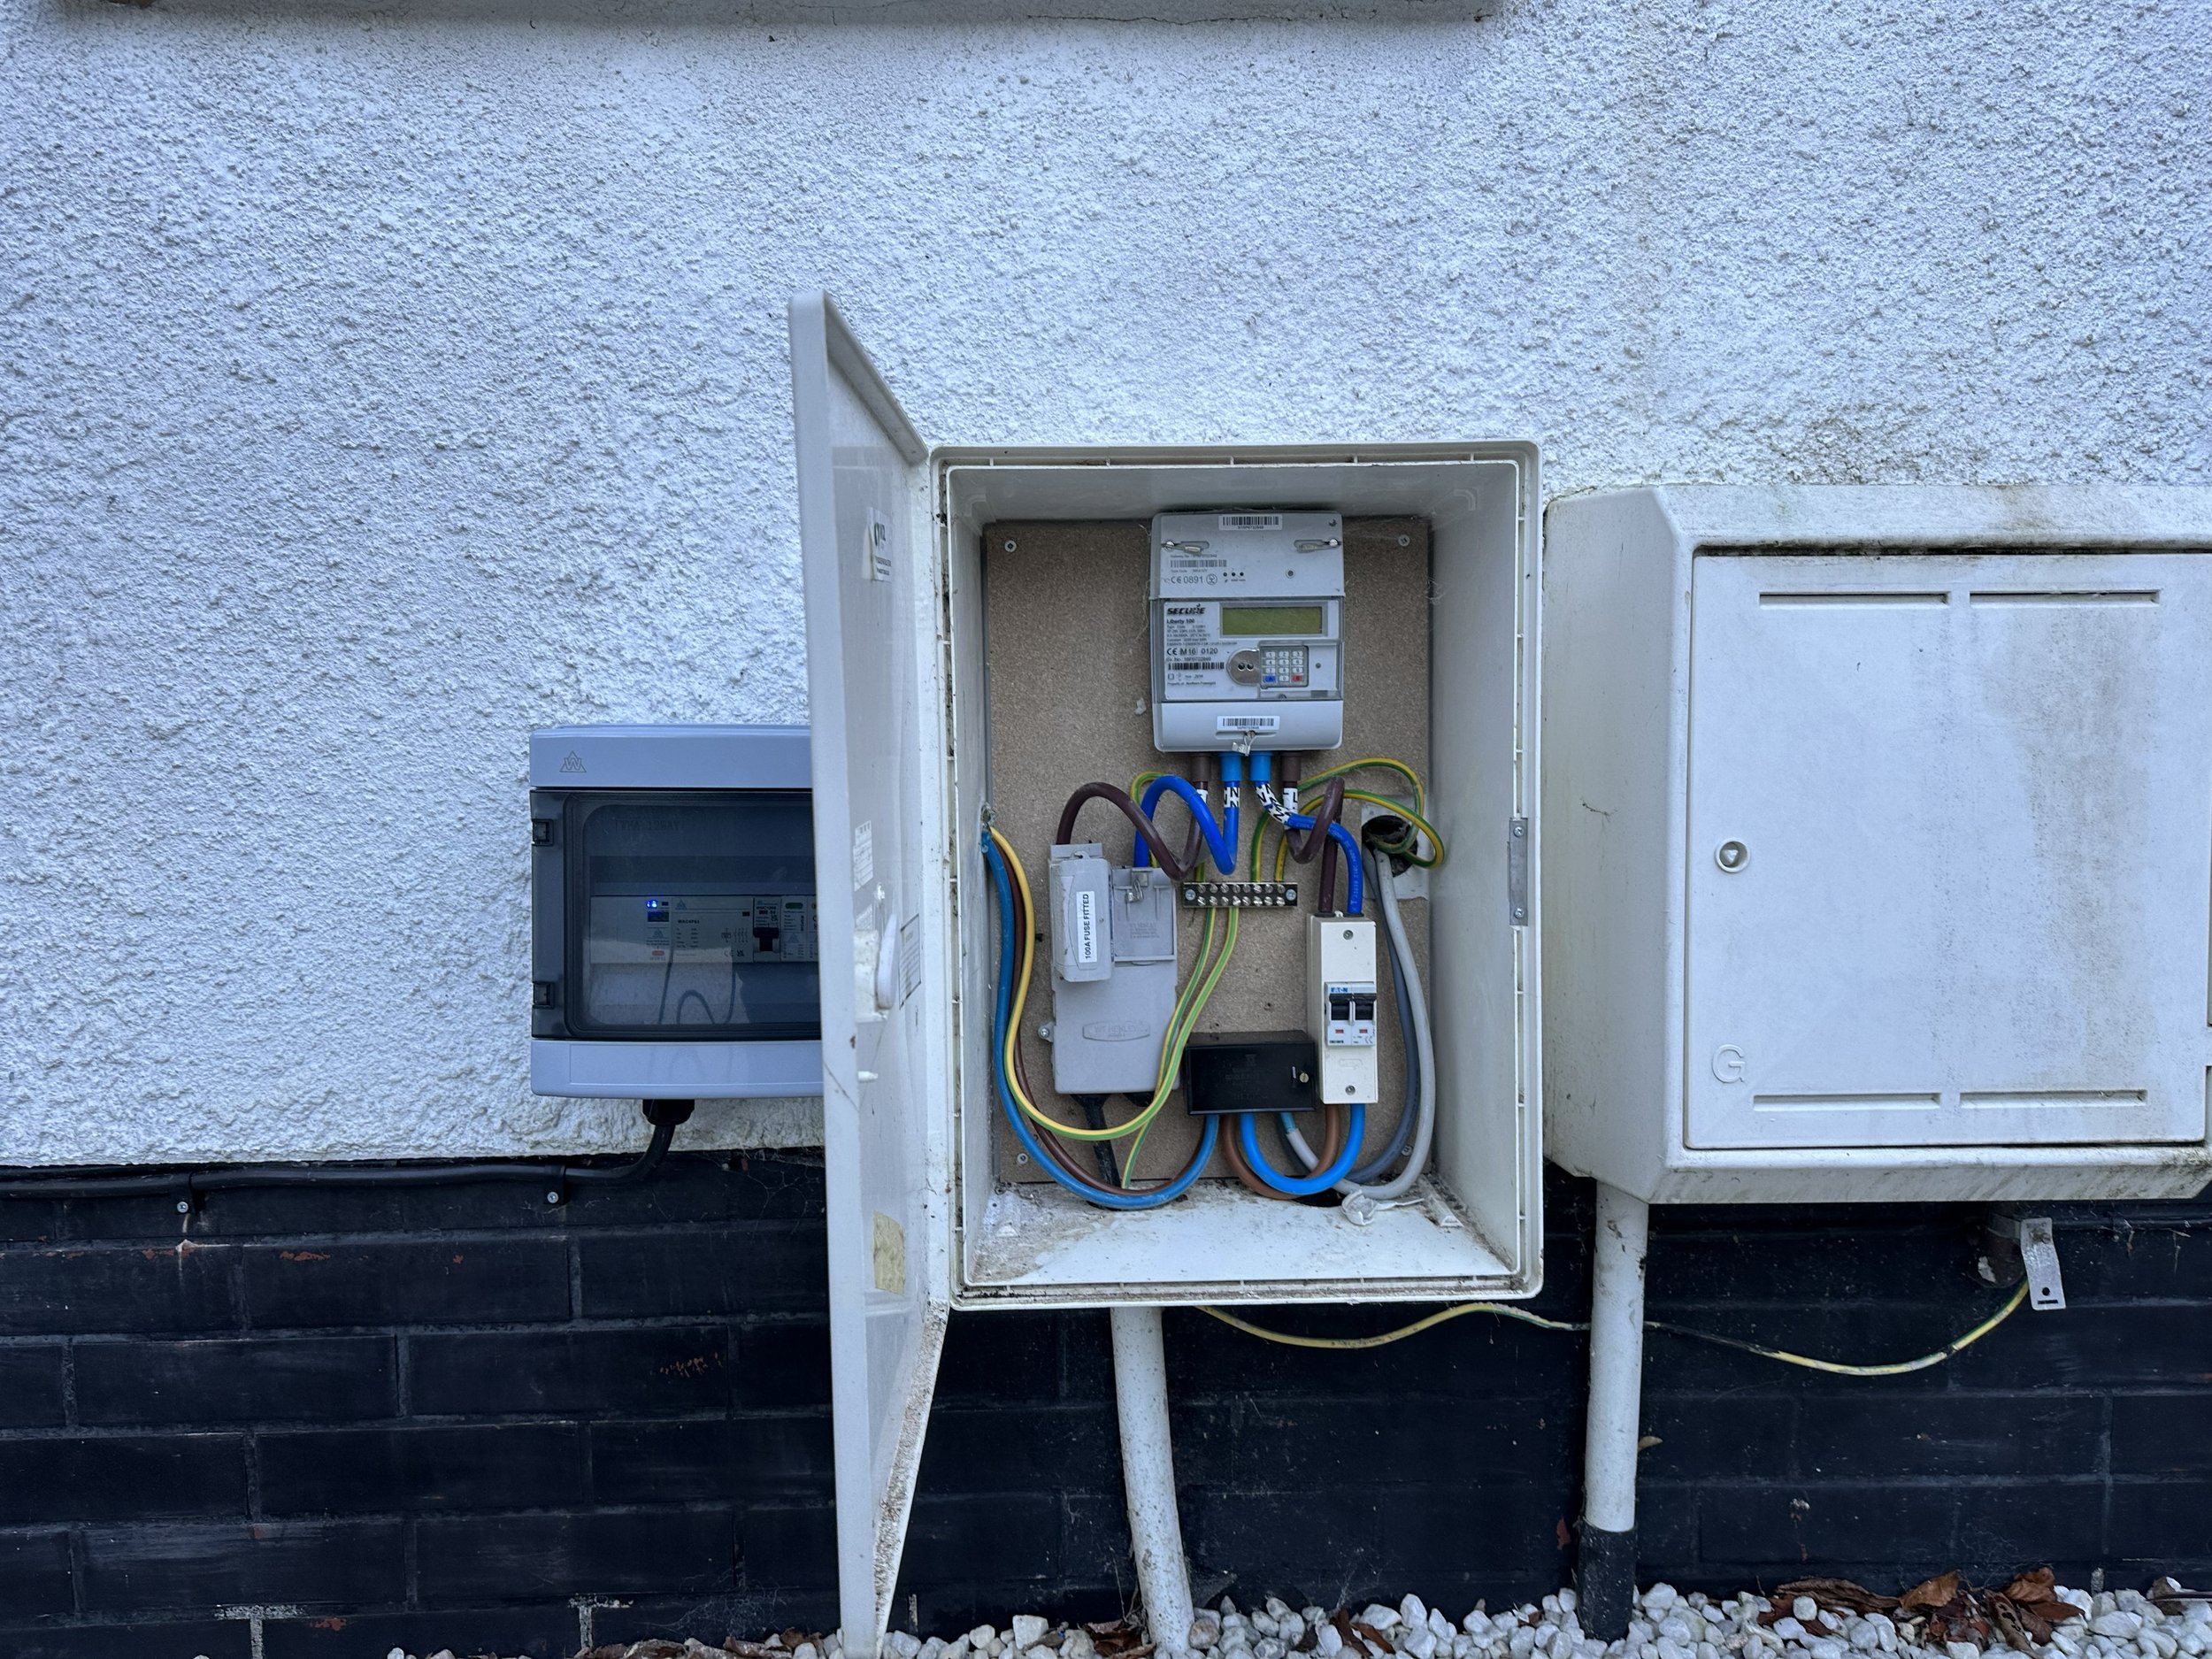
Take a clear photo showing the incoming electricity supply, including the main fuse, electricity meter, and all visible cables. It’s important to step back and capture the full area, not just a close-up. A wider photo allows us to see the surrounding space and understand where the new consumer unit will be positioned.
Cable Route (Important)
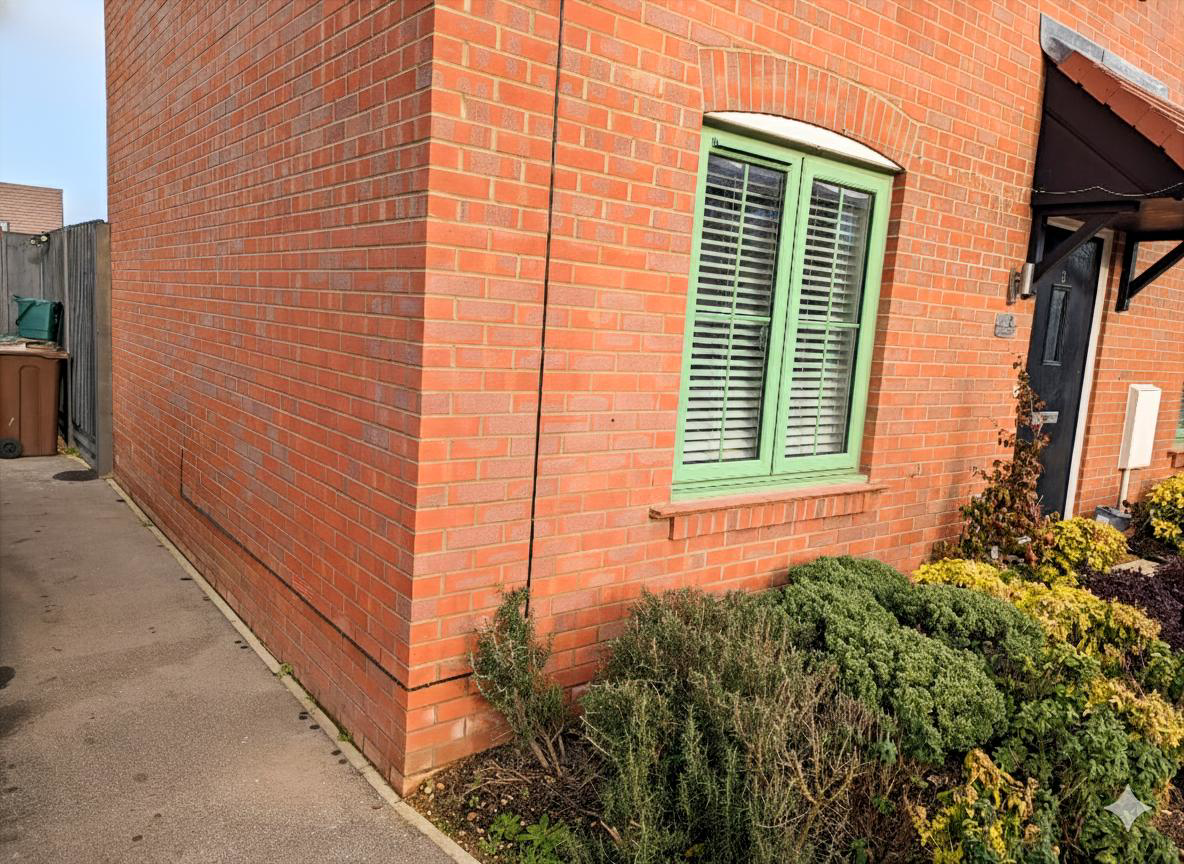
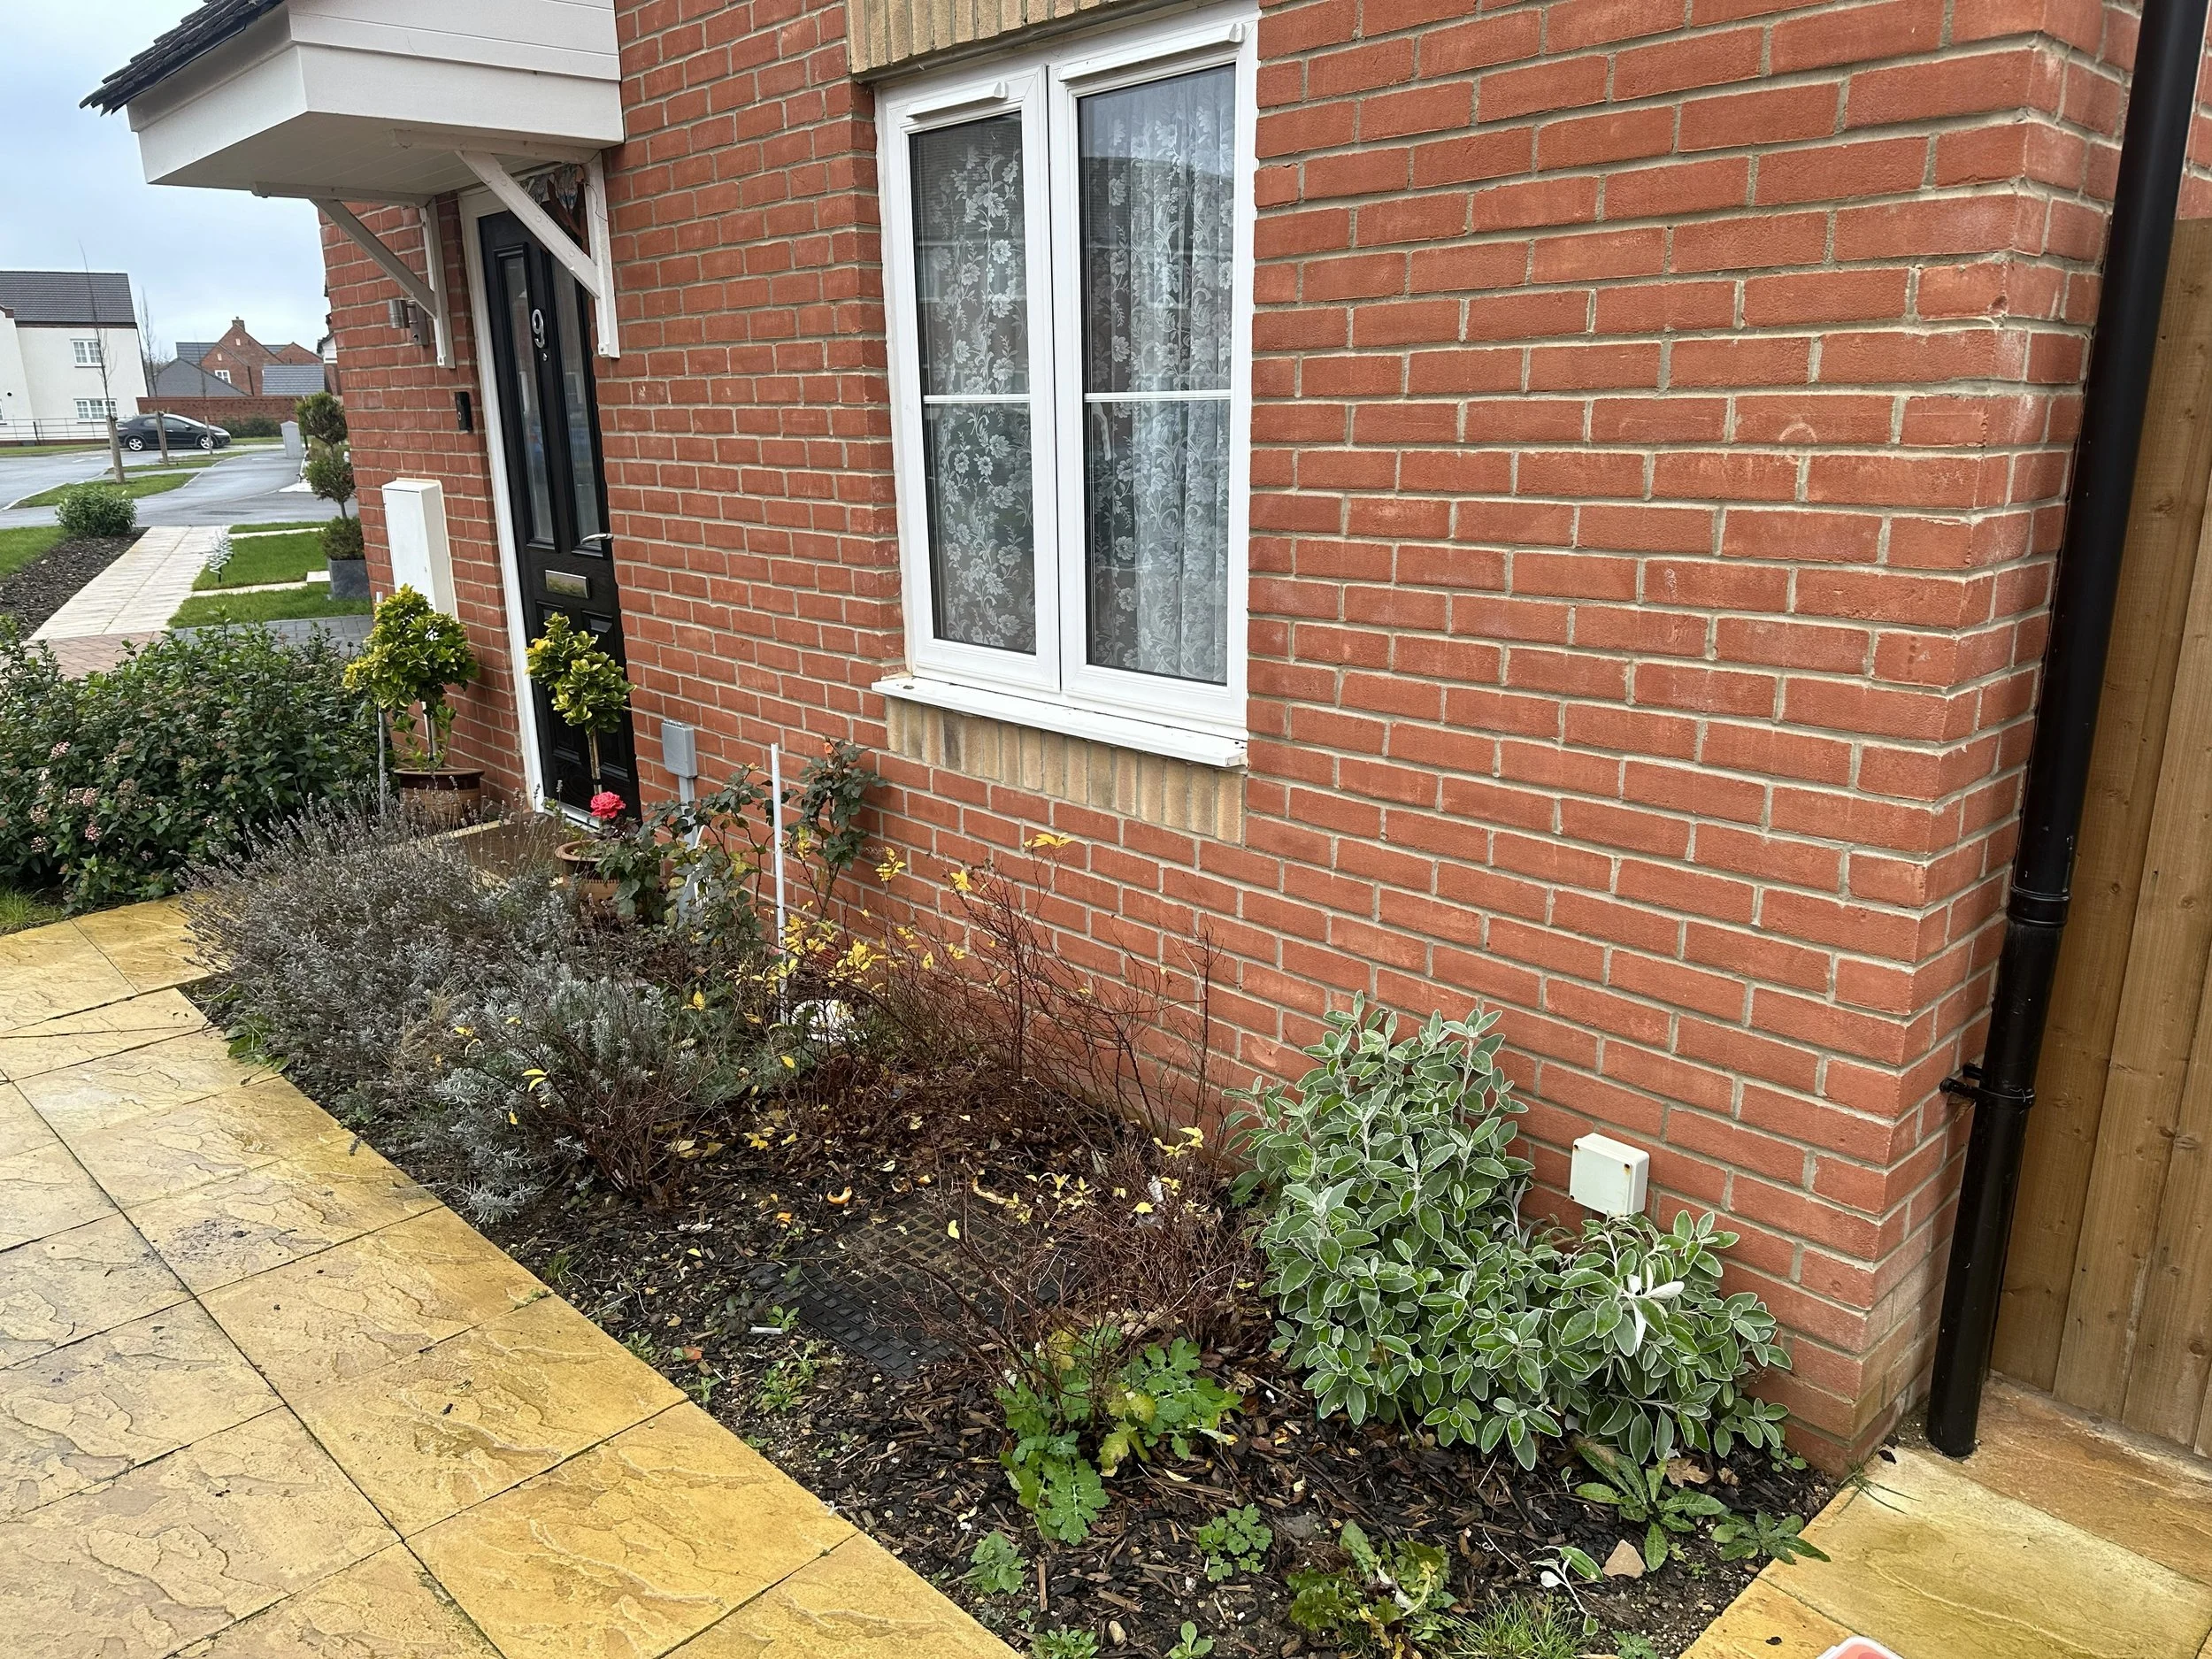
Take clear photos showing the full route from the electricity supply to the charger location. You may need to take a few photos to show how the route connects. Stand back where possible so we can understand how the spaces link together.
Preferred Charger Location
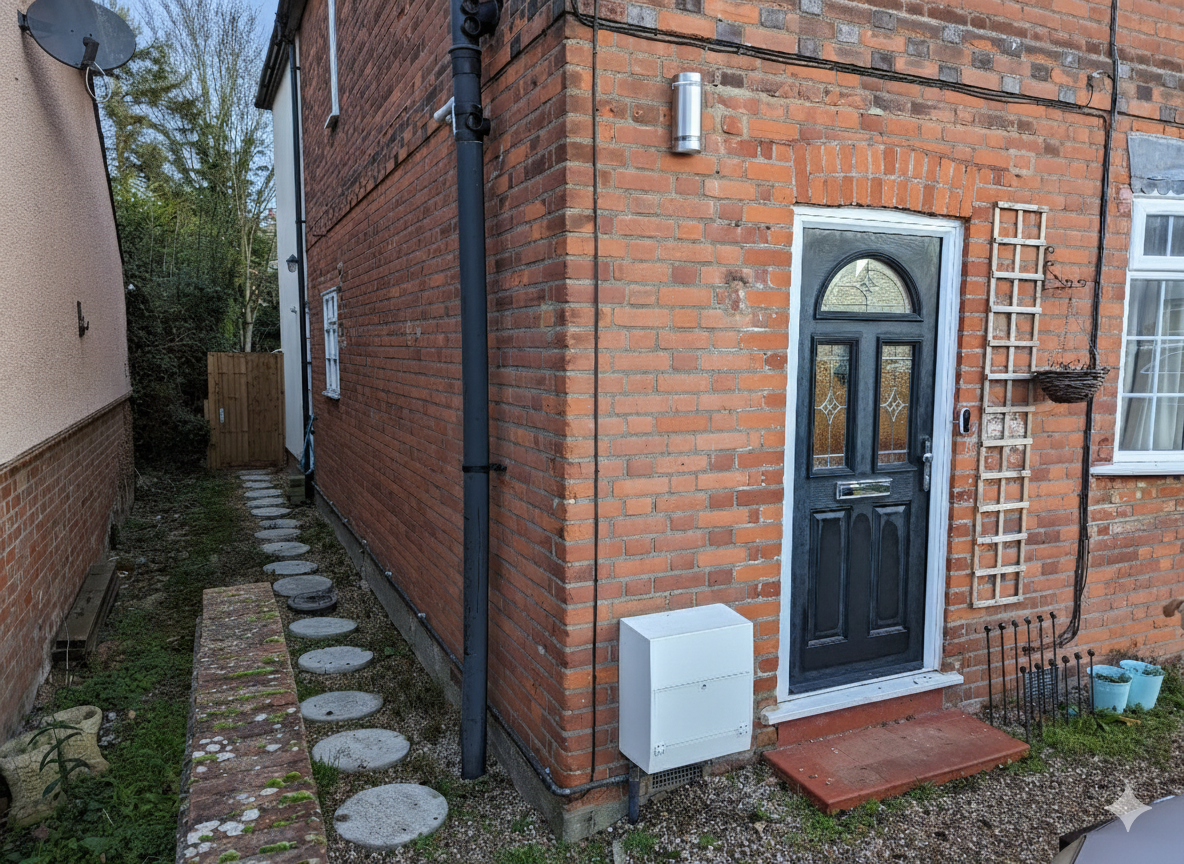
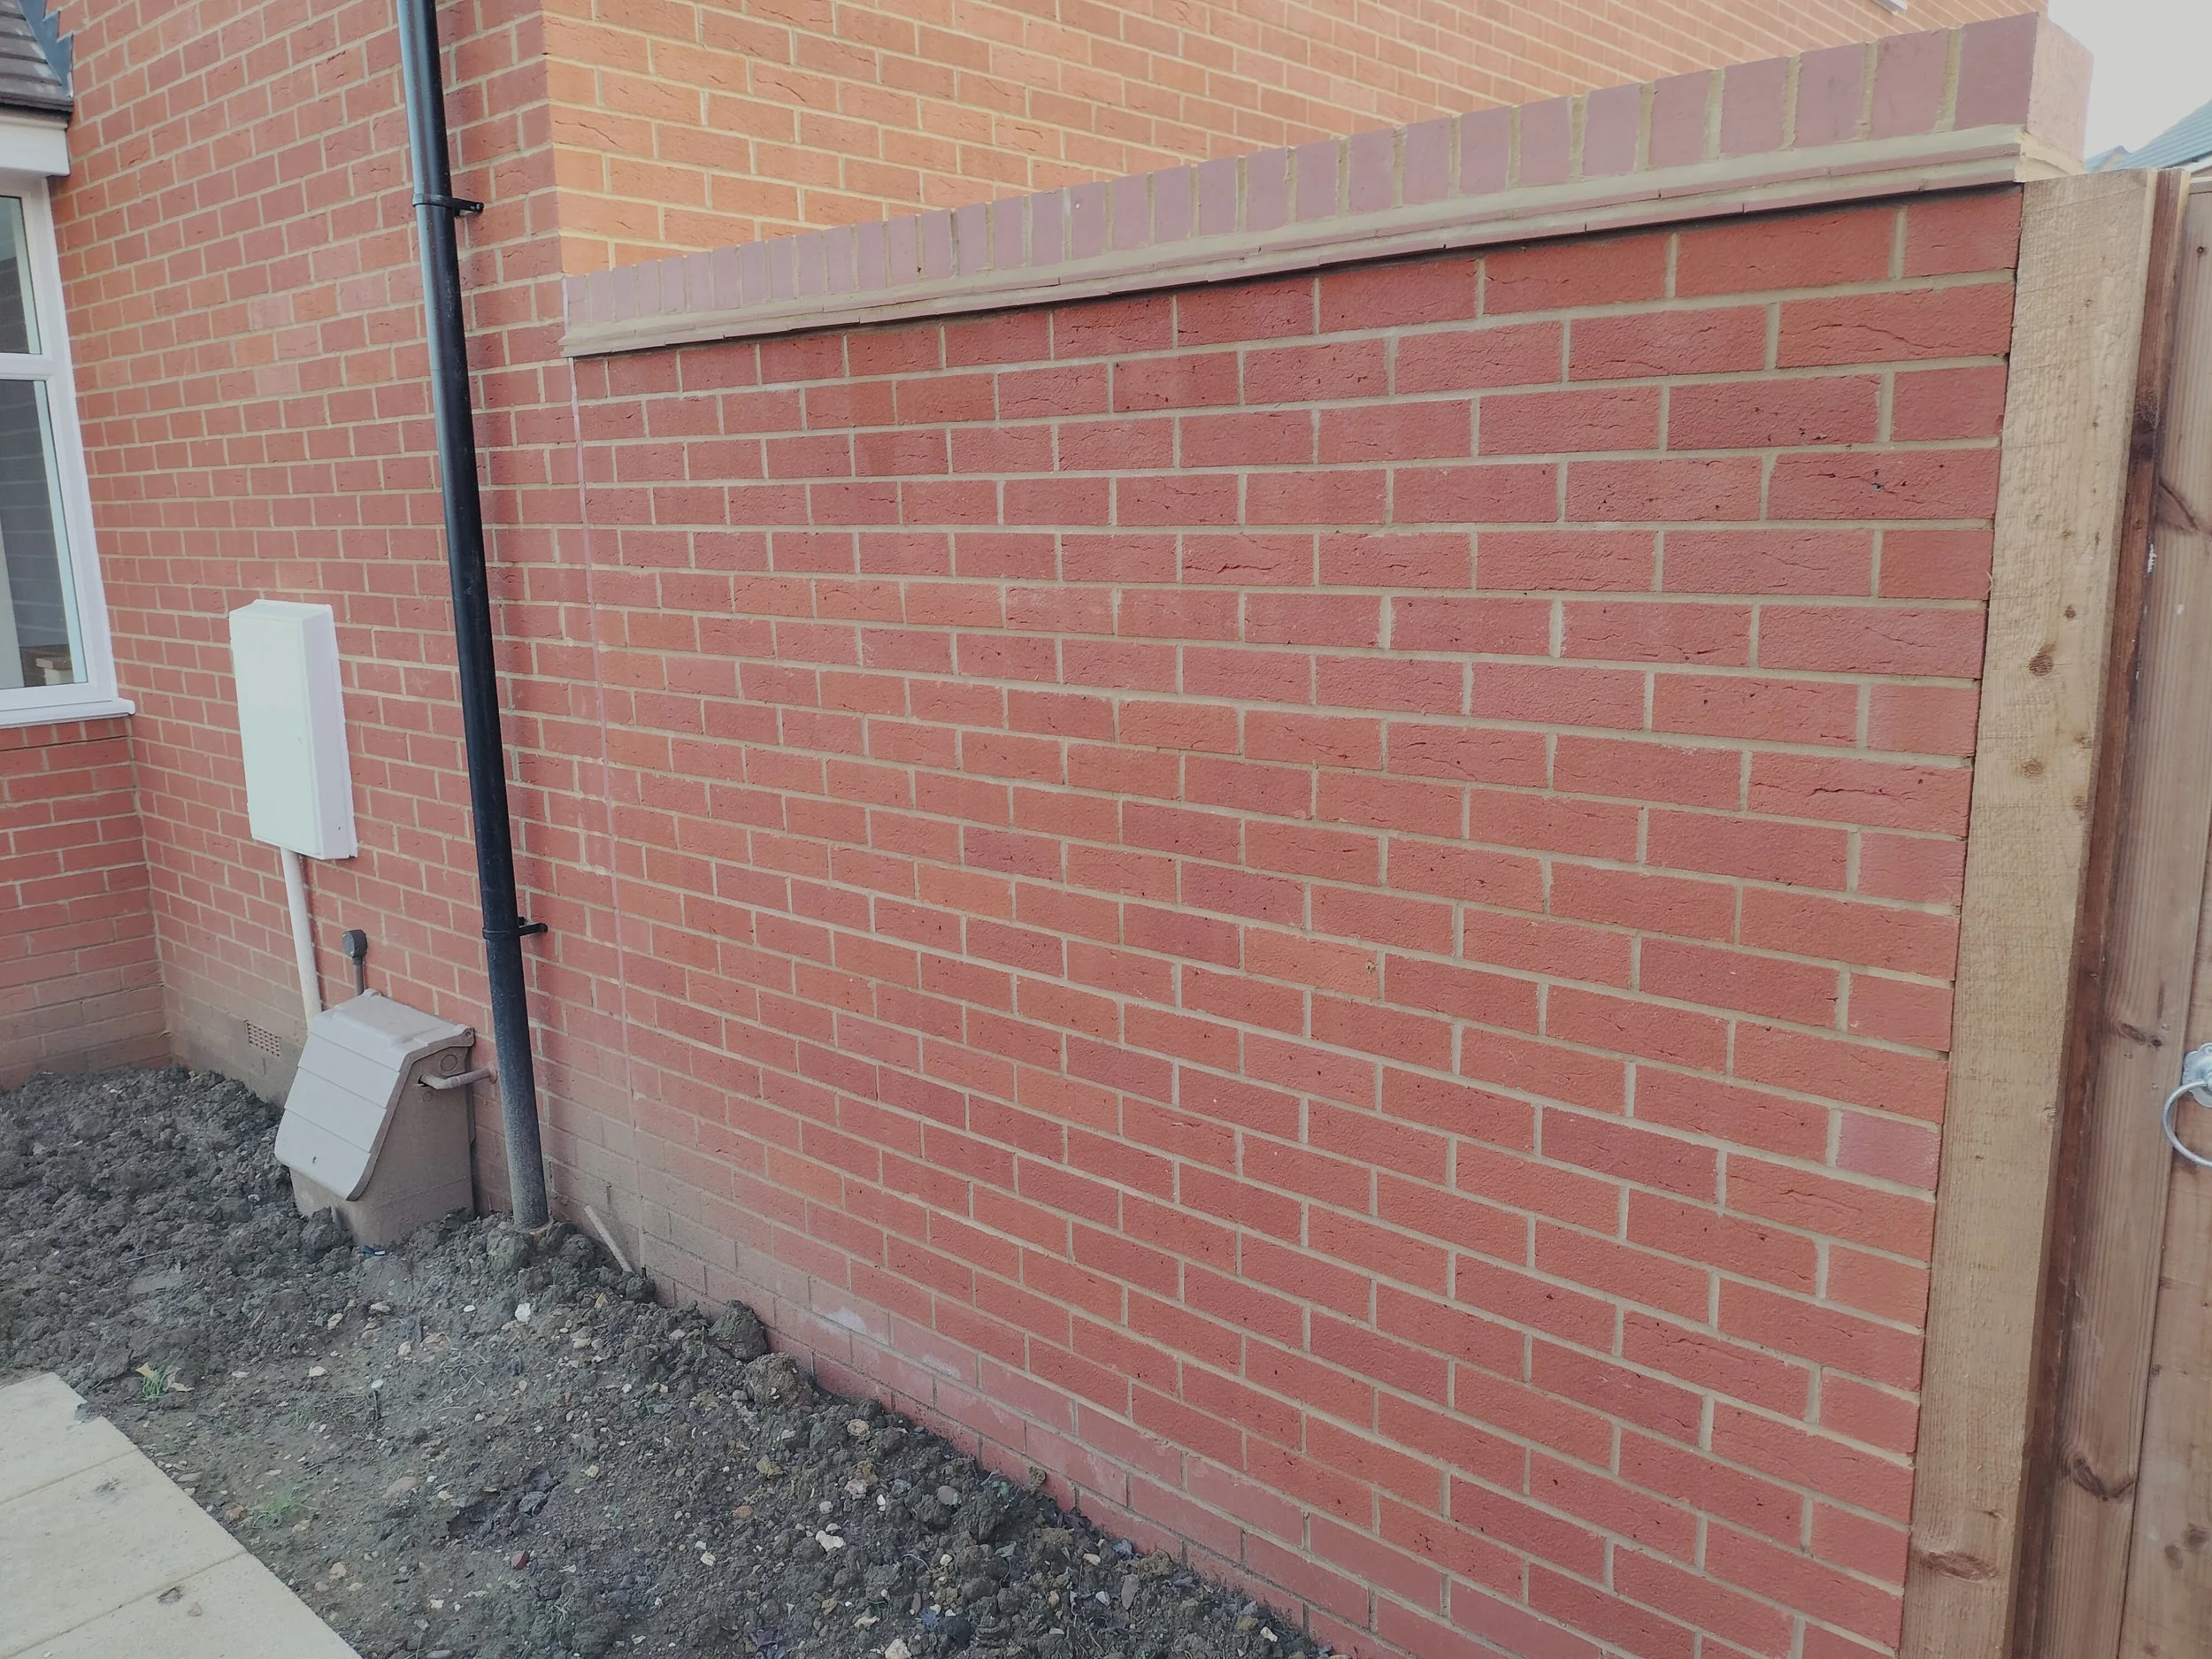
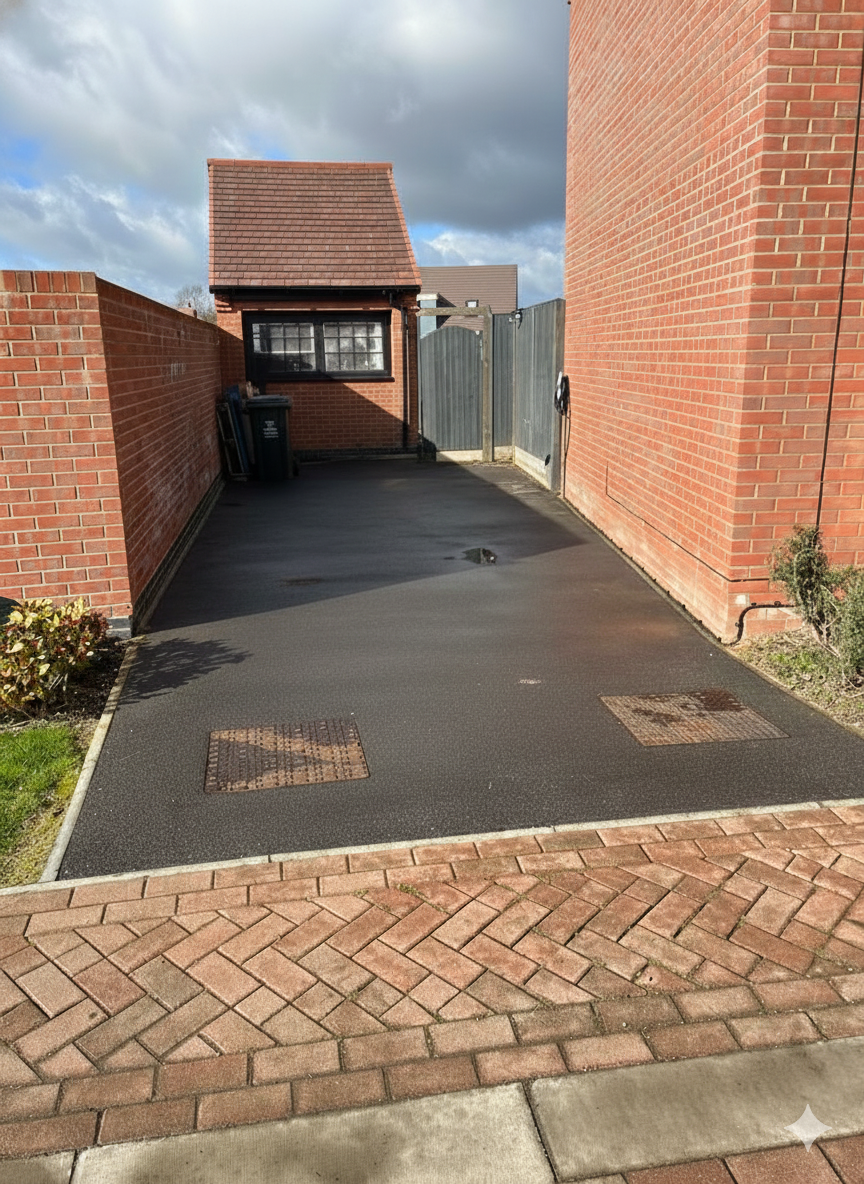
Take a photo of the exact wall where you would like the charger installed. Include where the vehicle will be parked and step back so we can clearly see the full area and positioning.
What Happens Next
Once we receive your photos, we review everything in detail and provide a clear, fully costed installation plan. The price is confirmed upfront, with no surprises or changes on the day.